The purple glow-in-the-dark bar is done! (Scroll down to the bottom to see it assembled)
 |
| Done. |
Thanks to Charlotte, Frank, Patty, D, and Abby for all your help, and thanks to all my camp-mates for your encouragement and ideas to make this project a reality. And thanks to my friends Matt and Samuel for helping with these photos on short notice.
This post will show how the structure works for those who might want to build something like this. This bar is meant for serving drinks to friends at a week long camping trip. It will be used outdoors, in the woods, rain or shine. Tarps will keep it dry and black lights will keep the artwork on the top glowing at night.
But for the people I'm camping with next week who will arrive before me, these are the assembly instructions you will need when you get to the campsite.
Assembly instructions:
Pick out a location and unfold the legs on the base unit. Lock all 4 of the brass leg braces by pushing the middle until they are straight.
 |
| Legs, ready to be unfolded. |
 |
| The legs open in pairs. |
 |
| Lock the brass leg braces with a small push. |
Flip over the base and set it in location. This is a good time to make sure it is level and not sinking into mud by shimming pieces of wood under the legs as necessary. If the whole bar is still packed up and strapped together, another option is to flip it as a unit.
 |
| The base can be handled by one person. |
 |
| Take a moment to make sure it is level. (This is easier indoors) |
 |
| One thin piece of plywood should be enough to avoid sinking into the mud. |
 |
| To adjust the height of one leg, Add other scraps and shims. The shims can be slid sideways to fine tune the height so the bar does not wobble. Avoiding wobble is more important than getting the bar perfectly level. |
 |
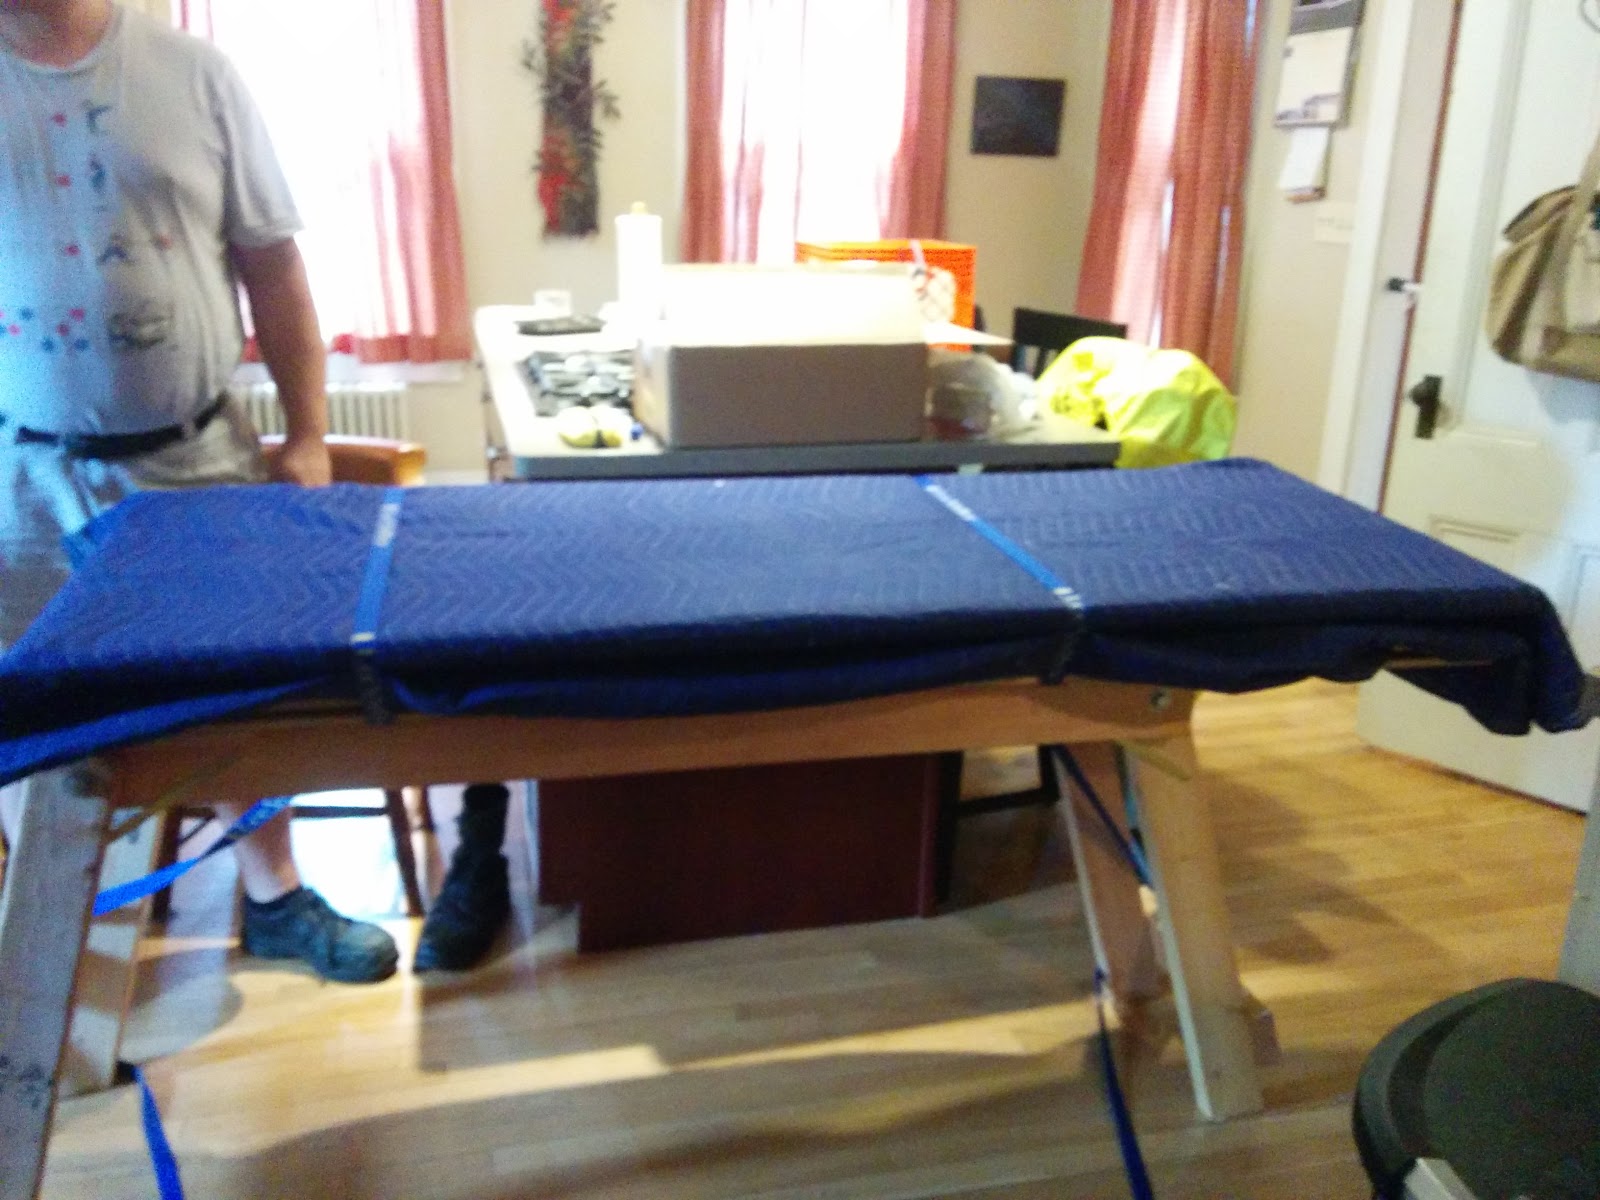
| Another option, (which might be useful if it is raining and you are under a small tarp), is to keep everything strapped together when you flip it onto it's legs. This is heavy, so make sure the straps are tight and get another person to help. |
Get the front piece ready within arms reach. The two recesses on the front should be on the top edge.
 |
| I'm pointing to the hinge recesses. |
 |
| parallelogram |
Pick up the top layer of the base unit so that it becomes a parallelogram and then a rectangle.
 |
| rectangle |
While holding the rectangle open, fit the front-piece in. The recesses should align so they are ready for hinges to land in them.
 |
| Installing the front-piece. |
 |
| The hinge-recesses align. Also shown is the metal T-nut where you will install bolts soon. |
Remove 6 bolt-washer pairs and the wrench from the included yellow hardware bag.
 |
| 6 bolts with 6 washers and an 11/16" ratcheting wrench (from the yellow hardware bag) |
Install them around the perimeter of the front piece. There are 2 on top, 2 on the bottom, and 2 on the ends (1 each). It is easiest to install them if you tighten the top ones first. They should be snug, but not super-tight--when you can't turn the wrench with 2 fingers, you are done.
 |
| Installing the bolts on top first. The notches in the wood show you where the bolts go. |
|
 |
| These ones on the end will align a lot easier if the top bolts are already tight. |
Next you will install the bartop. Make sure you have help lifting this because it is heavy. The top piece is wide and has the logo and yellow breadboard ends. The front facade piece is unadorned and hinged on to it. Take care to lift the front edge of the top first/highest so the front hangs freely swinging from hinges.
AVOID lifting the back edge higher than the front at any time. You would essentially be asking the hinges to open wider than 90 degrees, which they can't do without ripping themselves out.
 |
| IMPORTANT: lift the bartop in this orientation so the front piece is free to hang vertical. You can raise this up to vertical or lower it down to horizontal, but not down past horizontal. This is all about not straining the hinges. |
set the bar top on top of the base. The front/facade of the bartop should be up against the front of the base.
 |
| Here, I'm pushing the bar top sideways until it clunks into the centered position. |
Once it is on top, move it side to side until it is centered. You will here a clunk when the hinges on the bartop fall into the matching recesses in the base, and then you have done it.
 |
| Good, now it's centered. |
Retrieve the 5 brass screws and screwdriver from the yellow hardware bag. install them from the inside of the bar, into the [brass threaded inserts in the] facade. Like with the bolts, they should be snug but not crazy-tight.
 |
| 5 screws, one screwdriver. |
 |
| 4 screws in the front, from the back. |
Install the last brass screw up through the center-back-top of the base into the bartop. This keeps that thin piece of plywood from sagging.
 |
| One screw in the top, from below. |
 |
| This screw goes near the logo, towards the bartender-side. |
Before you walk away, double check that the screwdriver and wrench go back into the hardware bag. Keep it in the bar so it doesn't get lost.
 |
| Hardware bag, safely resting in the bar until you need it for disassembly |
Congratulations, you have assembled the bar! Time to load it with booze, have a drink, or go put your feet up.
 |
| The bar is done! |


Beautiful work all! Congrats on your creation.
ReplyDelete