|
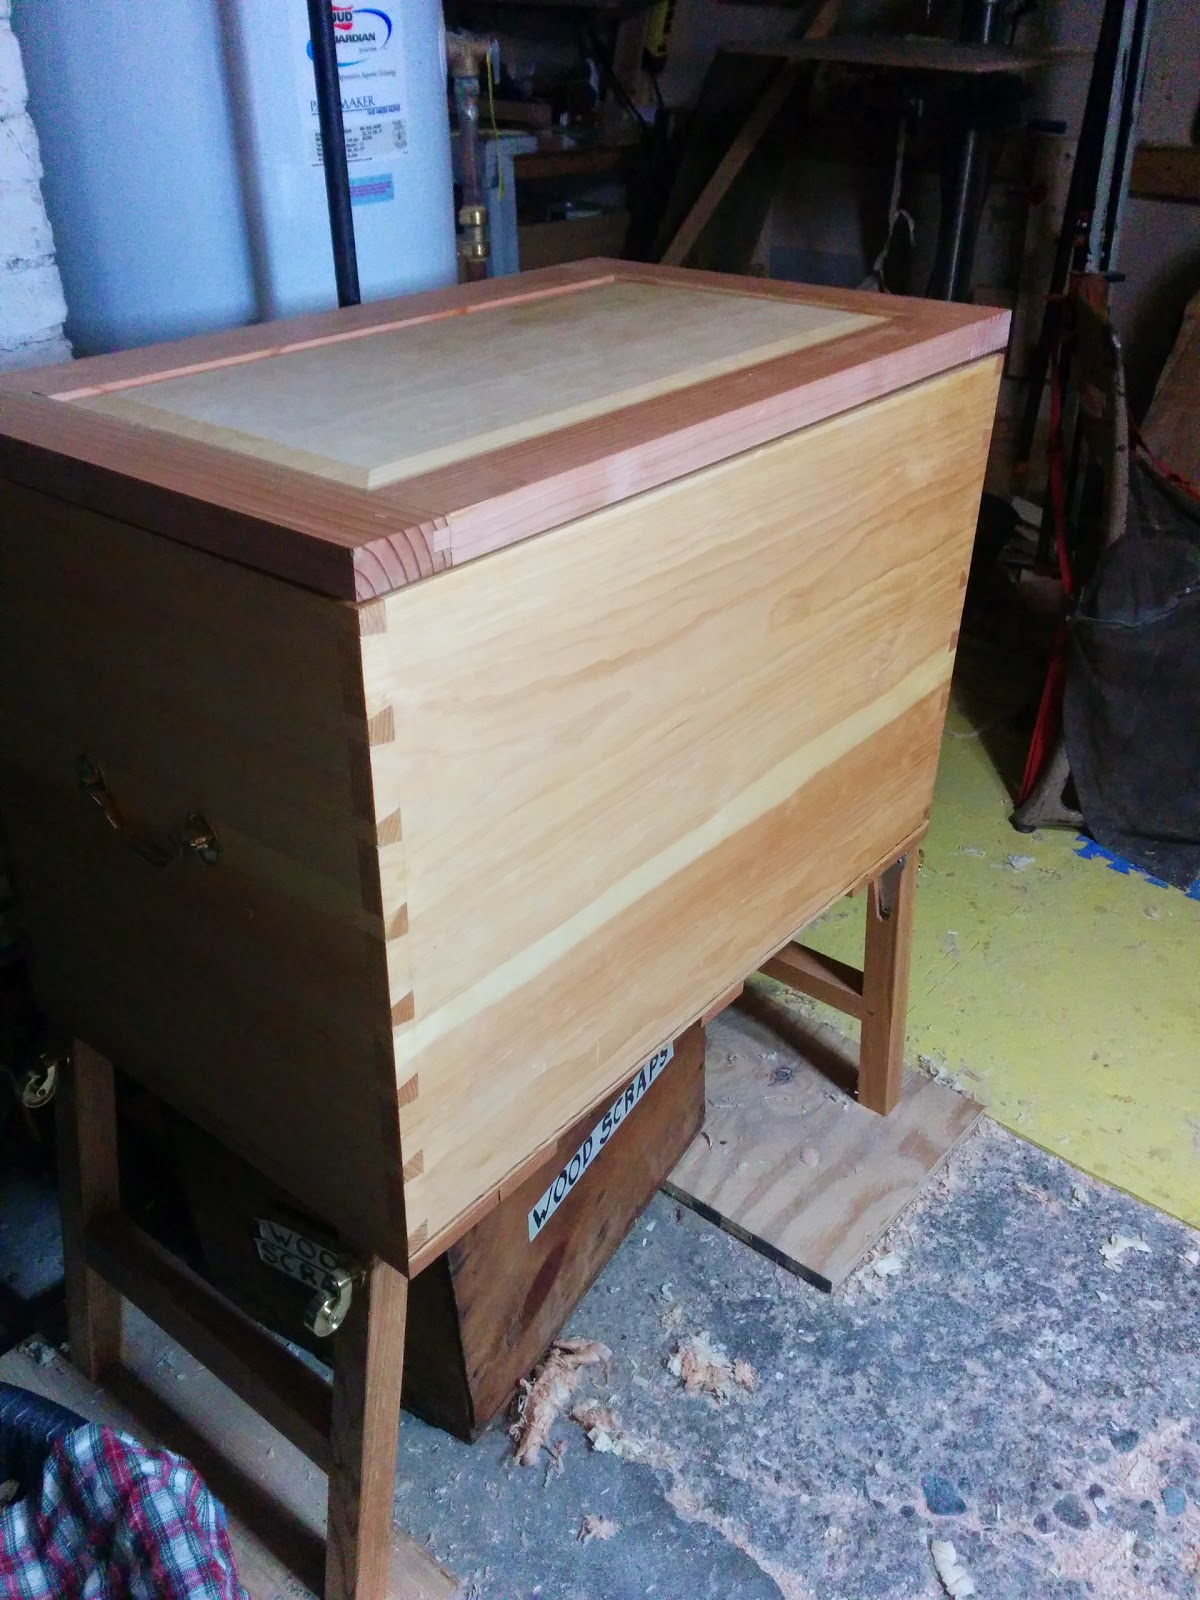
| I declare this thing done. |
I have been working on this tool chest for a while, years even. Oddly, I think I never mentioned it on here. I had a mental picture of lots of detailed posts showing every step of the way, and I never got around to it. I don't think I would want to read all that same stuff for the nth time anyway. Maybe I'll post some interesting mistakes later, but enough about that. It's done now, I'm going to tell you about it, and maybe it will inspire some future action. Deal? OK.
My tool chest is based on "The Anarchist's Tool Chest", an excellent book/theory from Chris Schwarz. If you find yourself reading this, you will probably enjoy reading that book. It's about how to spend your time doing what's rewarding, how to select implements for doing so, and how to arrange for those implements to wind up in a big box. Oh, and it's mostly about woodworking as opposed to, say, anarchy.
What I really like about the book (and the Schwarz's writing in general), is that he lays out the principles he's following instead of encouraging you to slavishly copy the details. The first rule (not technically a rule) of the ATC is that you're supposed to disobey Chris Schwarz, and I did plenty of that.
My chest is scaled down from the canonical one to fit my tools (a basic ATC principle), and to try to be more space-efficient (my own stubborn inclination). I've also added & changed features where it made sense to me, while trying to stick with the overarching purpose and principles of the chest outlined in the book. For the rest of this post, I'm going to assume you have read it, or are at least familiar with the idea of the ATC--that way I can focus on what's different in my version. If you don't know the background, spend a few minutes with a search engine. This idea has made the rounds of other woodworking blogs several times over by now. Or buy the book, it's your choice. (This is a good time to point out that I'm not affiliated with Lost Art Press or anybody else who sells woodworking stuff).
 |
| I am incapable of painting over this surface. |
The first thing you might notice is that my tool chest is not painted black. Why not? I do like it's modest good looks and the way it contrasts with the woodgrain outside, but I just can't bring myself to do it. I got into the hobby partly because I like the way wood grain looks, especially when it's been planed. I used this project to build a lot of basic experience. Milling lumber by hand, dovetailing, grain matching, proportional design, drawbore joints just to name a few. I'm proud of how it came out, and I like looking at it in all it's woodiness. This is purely personal taste, not advice for anybody else. (This is also testament that nobody should be afraid of cutting dovetails by hand. These were almost my first, and the repairs came out great!)
 |
| The longest saw you see on top determined the size of the chest below. |
What do I mean about scaling the chest to my tools? Well, my tools take up a little less space than what's in the book. First off, I don't have molding planes. I like to design and build objects that don't look ornamented, so molding doesn't seem necessary. At the outset, I decided that I can always change my mind and put some in a separate box (maybe in the japanese tool chest style). Second, I prefer panel saws to full-size hand saws--Mostly because I can't accidentally knock them into the concrete floor when sawing on sawbenches. Lastly, I got into woodworking to build guitars. A lot of the specialized tools for that are pretty small. So, following the principles of ATC, I sized the chest to my longest tools, my panel saws. The depth and height of the original are based on what's comfortable for the human body to reach. Following that principle and looking at my tools, the inside dimensions ended up at 28"(L) x 16.5" (D) x 18.5 (H). That's probably about half the typical volume, but I am going to use all of it. This also means I can pick the thing up myself (note to self: take some weight out first so you don't break your back - planes are heavy).
 |
| Chest on legs. The offset allows them to fold next to their counterparts. |
 |
| Wheels engage when the legs don't. |
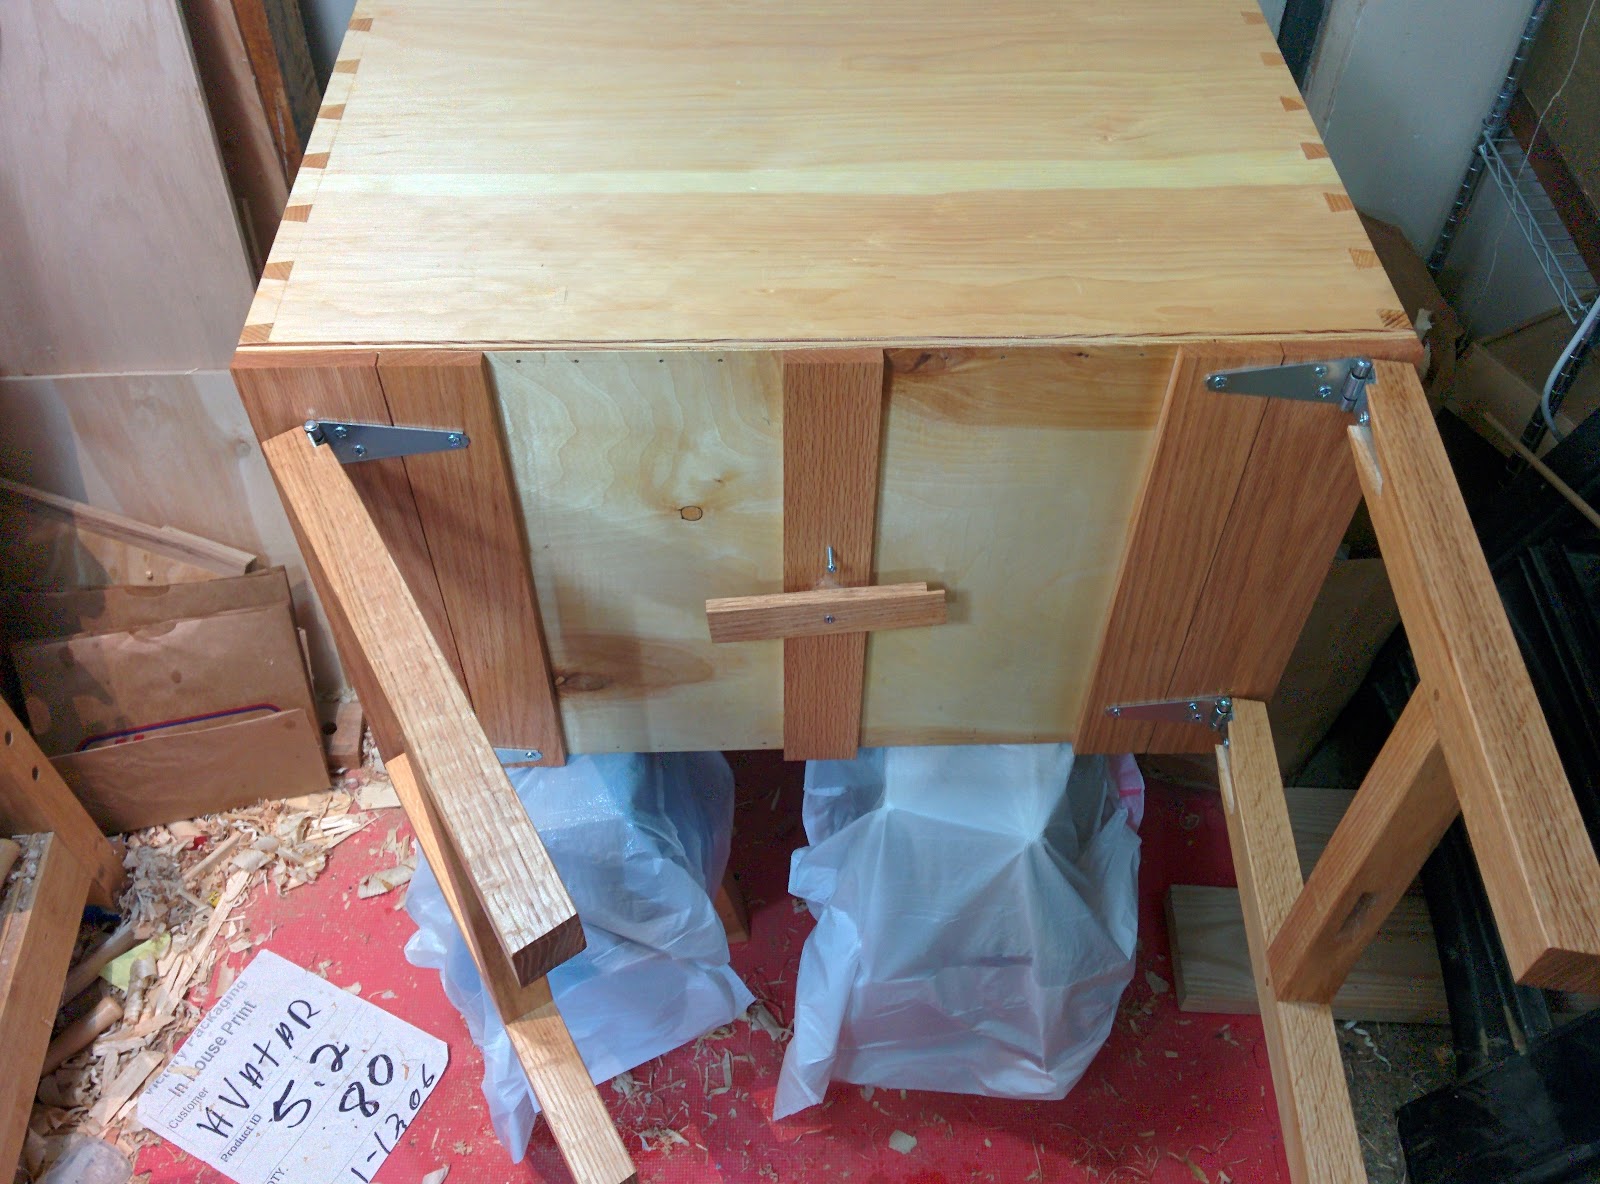
I also elected to put my chest up on legs. Well, sometimes. The legs fold and get held closed by a toggle. When closed, brass casters are in position to roll the chest around. I find the chest comfortable to use at either height, but especially when it's ~16" off the floor. Lately I've been rolling it around a lot while I reorganize my shop.
I also did the lid differently. I think the groove-in-groove thing is neat, but I really wanted a top that is one flat surface in case I want to use the chest as a sawbench in a pinch. I didn't want to sacrifice the thickness of the panel, so I made the frame even thicker (It came from a few clear sections of 2x4). I even veneered the inside of the panel, just so it would definitely be thick & strong enough for some abuse. I know it's only another 1/40 of an inch, but the stiffness goes up with the cube of the thickness, so it definitely matters.
I elected to attach the lid with brass piano hinge, screwed straight into the back. Some people think it's ugly, but that's only, like, your opinion, man. Come to think of it, there seems to be a lot of anti-shiny-brass sentiment out there, certainly at odds with my all-shiny-brass hardware. That's ok. This brass will look old when it gets old. But I want it to look young while it is young too. The idea of artificially speeding up the process just bothers me somehow. Again, this is my taste, not advice.
Oh, and no lock. If I ever feel I need one, I'll install a nice looking hasp, and use a padlock that offers some real security. But I doubt I will.
 |
| Whoops, there's supposed to be more stuff. |
Still reading? Awesome. A little surprising. Let's talk about what's inside my tool chest.
 |
| Organized chaos. |
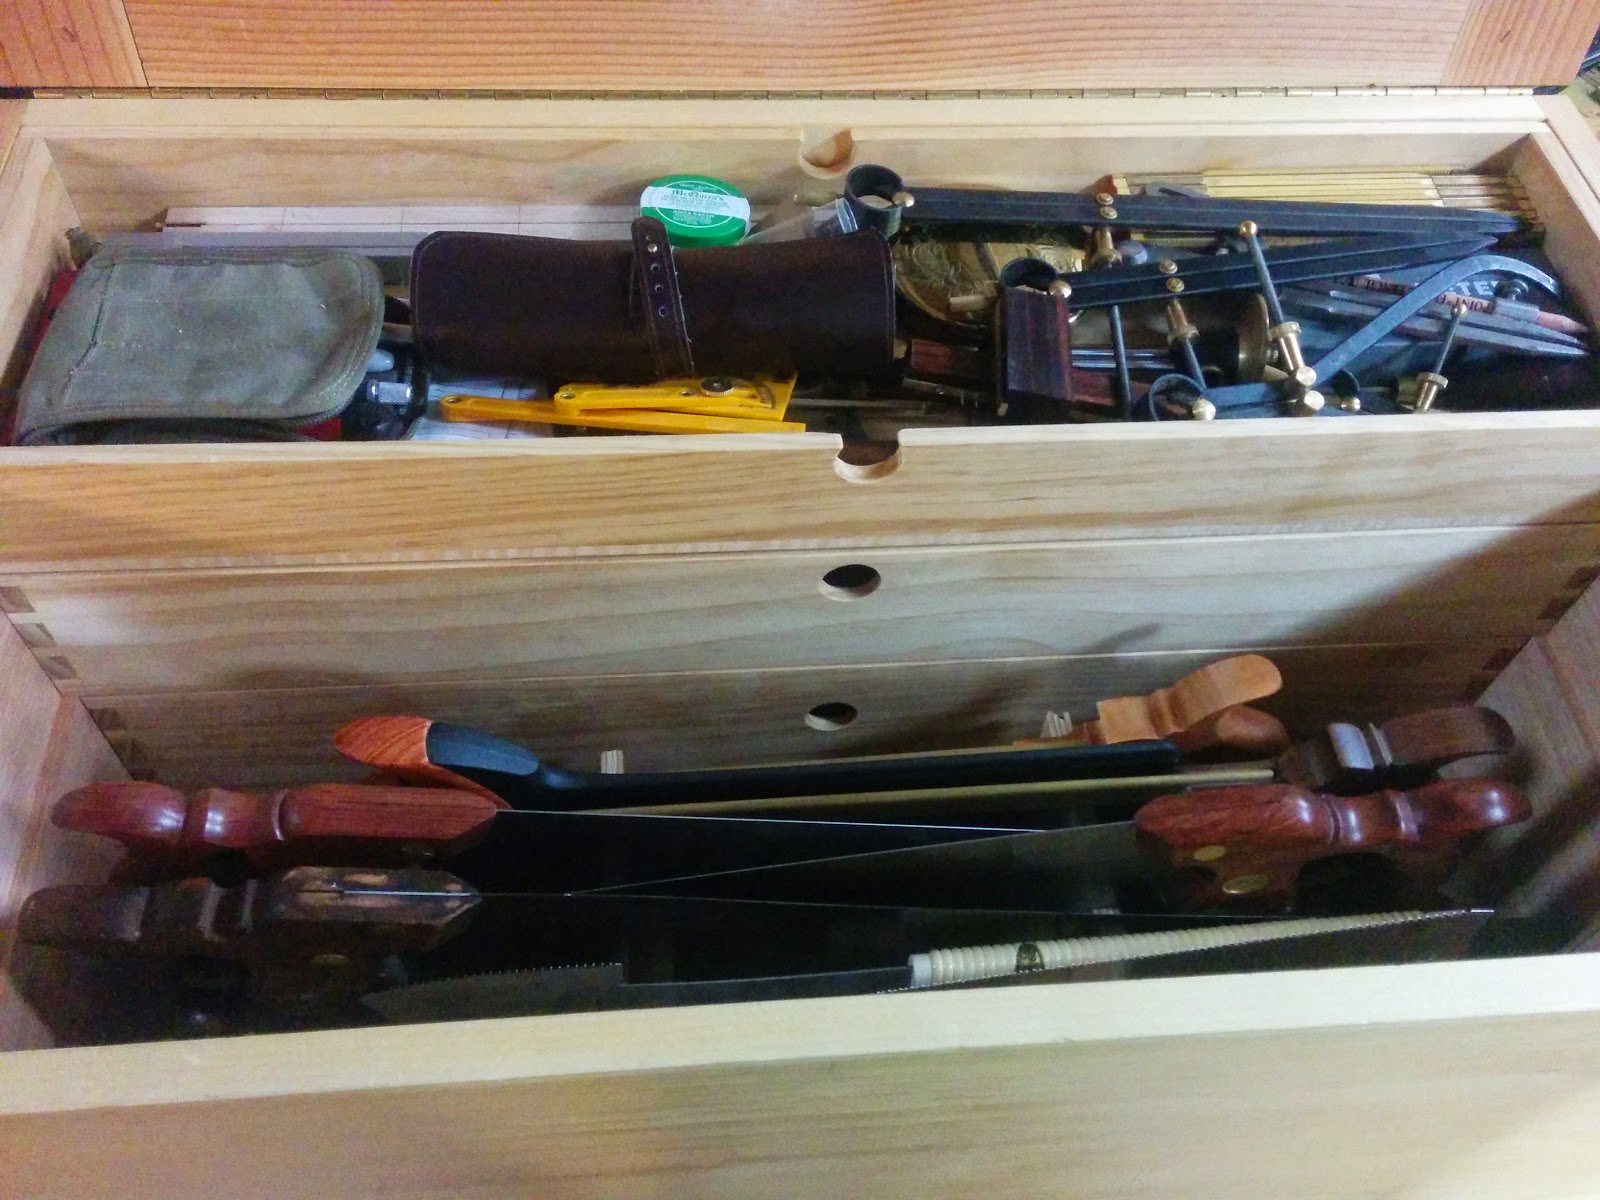
The bottom is pretty much like the canonical ATC (CATC?), except missing the saw till and the area for molding planes. There will be no molding planes, and I'll explain later about the saws. What I'm saying is that the bottom is wide open. I've got it filled mostly with planes, and a couple other things too large and awkward to go anywhere else. I find it quite acceptable to have a drawknife, brace, and mallet piled in with the planes. I set them down gently, they don't move around much because of the plane totes, and they are surprisingly not much in the way.
 |
| The chisels don't seem to interfere with the planes. That rack is also a nice place for a little flush-cut saw. |
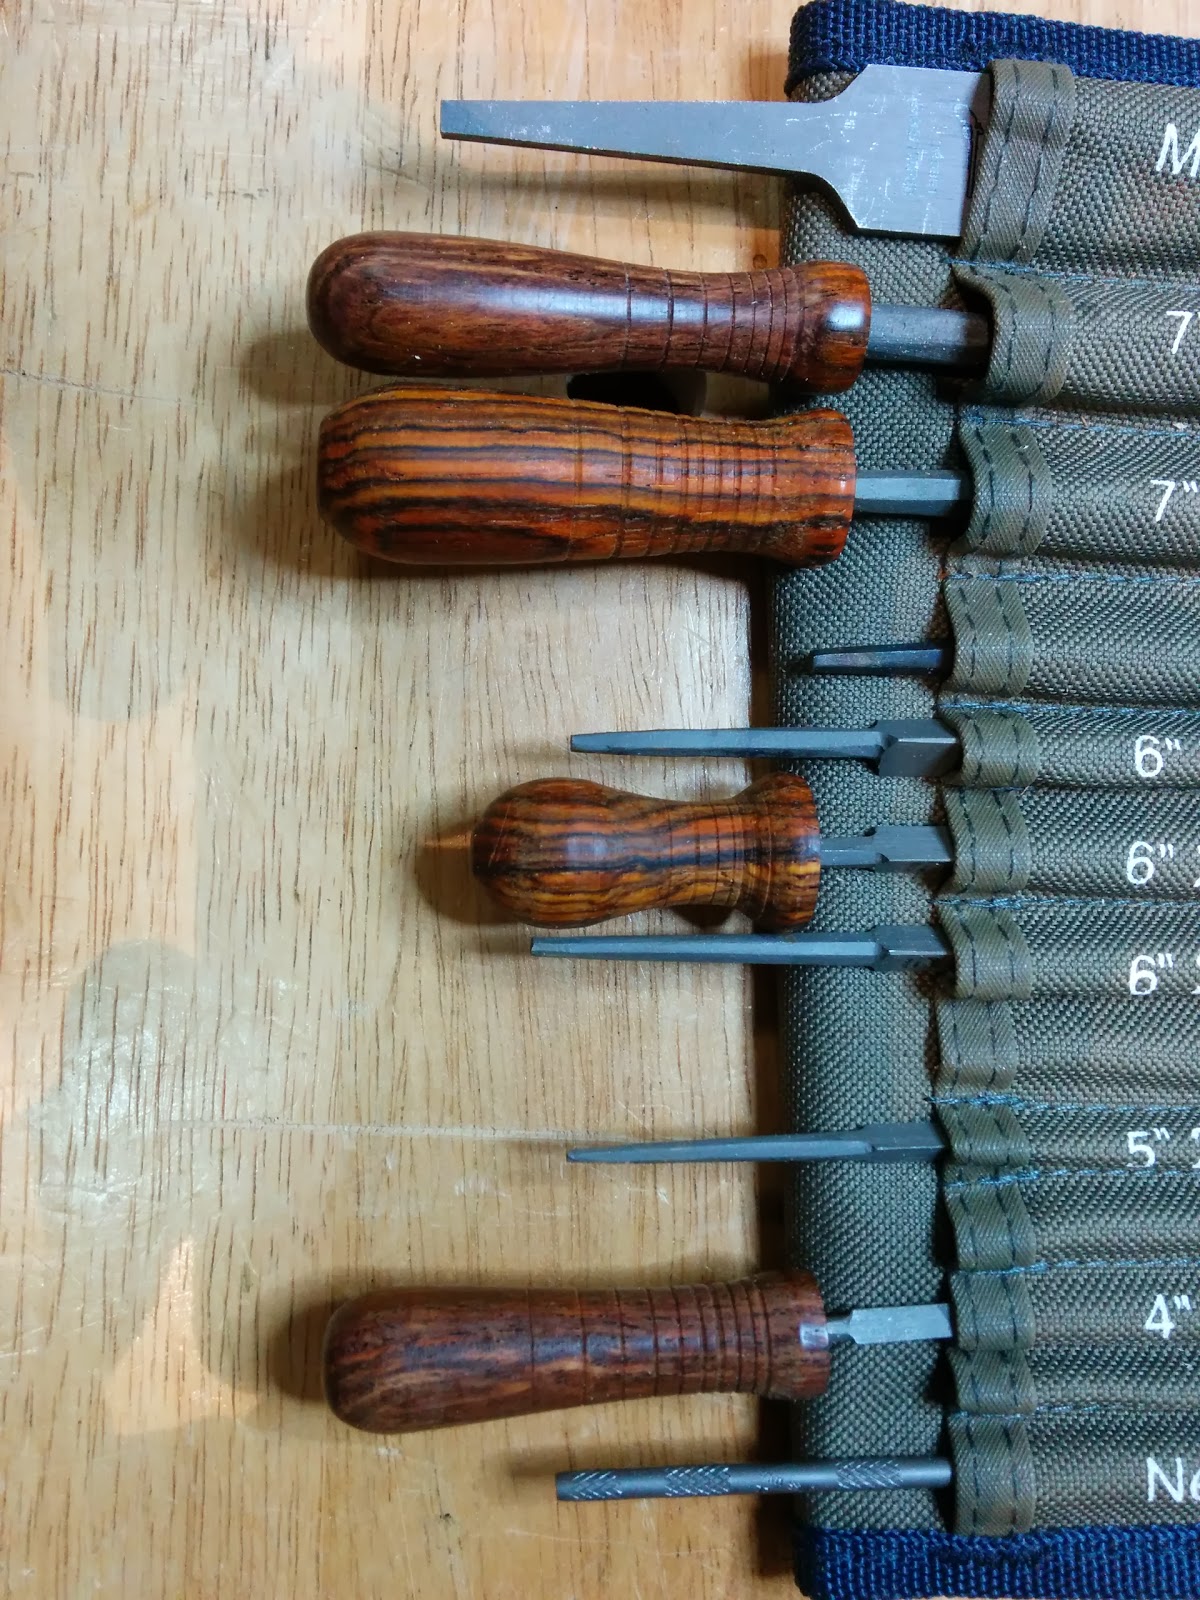
I also decided early on that a chisel rack was required. I tried tool rolls, but they take up too much space on the bench and get dusty. I find I only like it for carving tools, which I don't use all that often, and tend to use as a set. My chisel rack is fairly traditional, except for the way I made it. It's a glued-up wood sandwich, with a 1/2" gap in the middle, and a 1/4" gap in the back (towards the wall). I only glued in the dividers I needed in the 1/2" gap--so pretty much just for the set of bench chisels on the right. I can always glue in more later as I figure out exactly what else goes in there, and the wide open gap works fine for most things. The 1/4" gap right against the wall is good for a small carpenter's square, and maybe other things later. The whole thing can unscrew and come out of the chest in one piece If I change my mind about it later. It actually sits on the till rails.
 |
| Tills at rest. |
 |
| Tills at work. This keeps the small tools handy. |
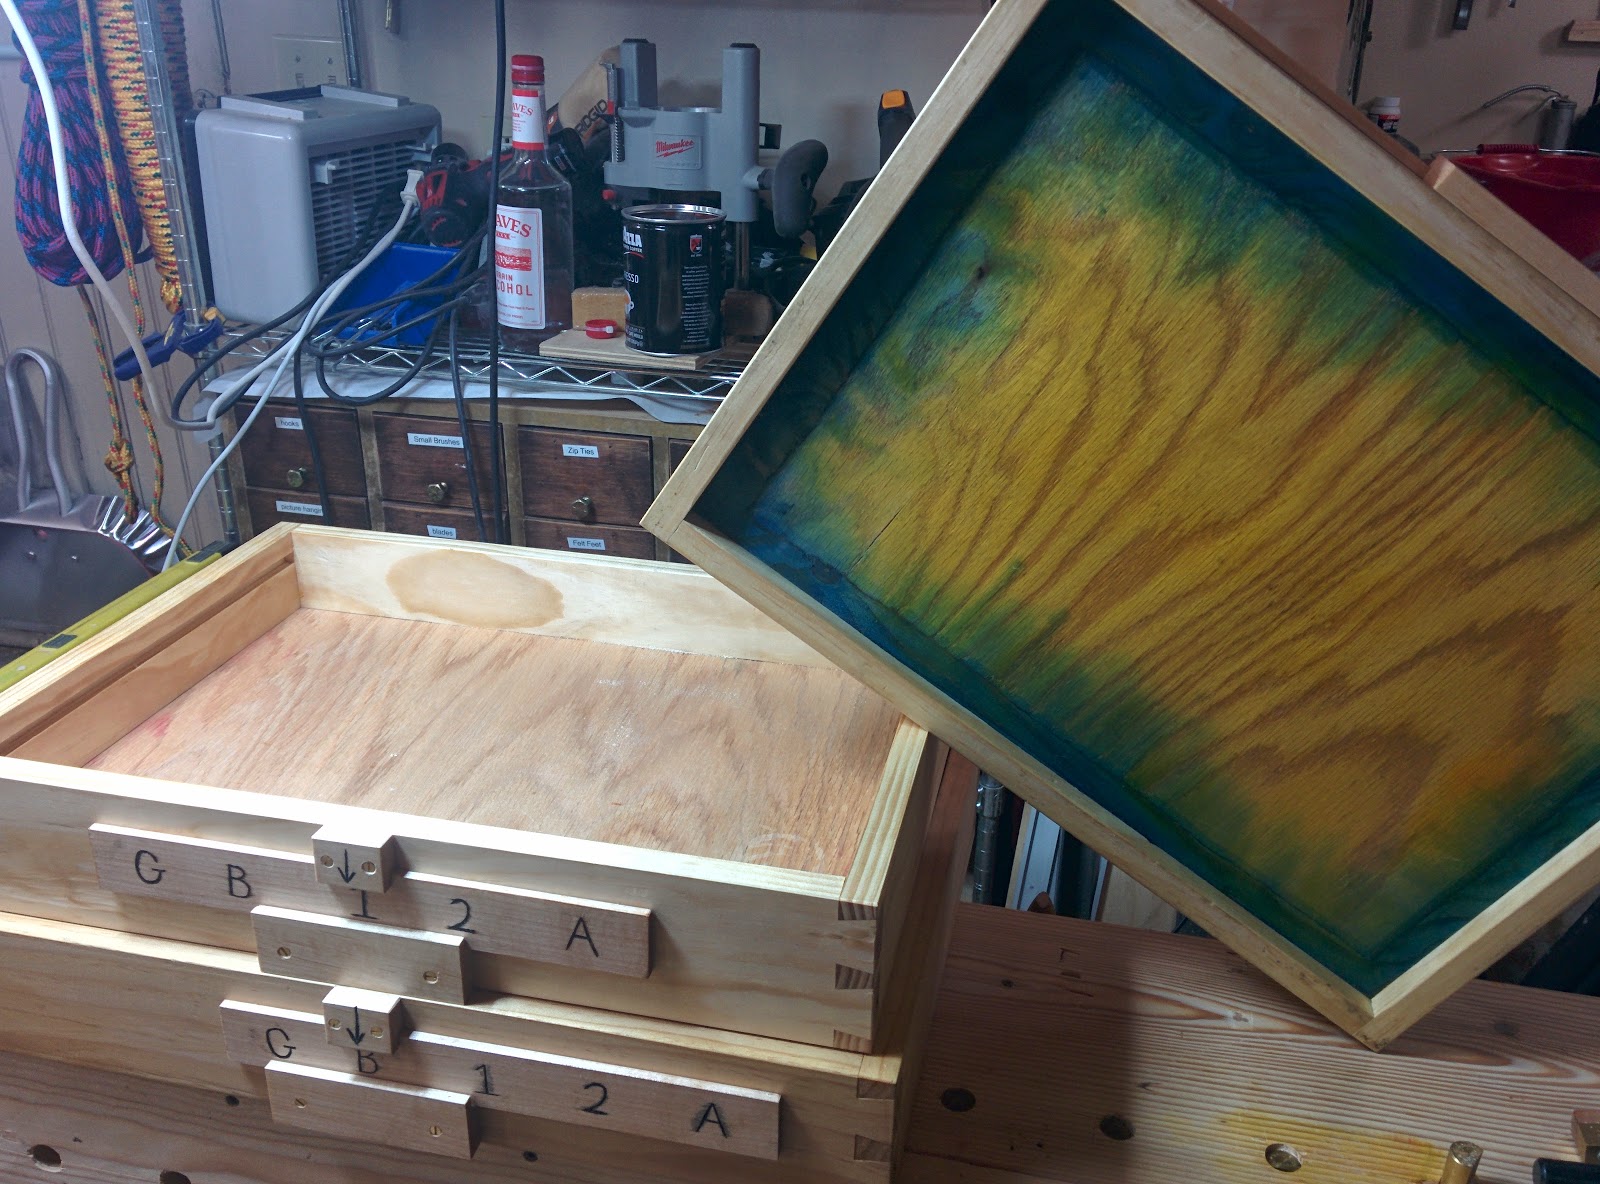
The sliding tills I made are pretty standard stuff, except for the width. If I had made them small enough to spread out completely, they would have been only 5" wide. Instead I made them 8". I can see two whole ones, or fractions of all 3. Or I can set the top one on the bench and spread the other two out. Like every engineering decision, it's a compromise. But I need the space. I also omitted the traditional pull rings in favor of simple centered pull holes. This is for a few reasons: I don't think they justify their own weight, holes don't bang into things, and a centered hole naturally leads you to pull the till where it won't bind. Mine don't bind anyway, but who knows how that might change with wear? These were fun to build. A few quick dovetails in pine, and some small nails, and then you've got that most precious of all commodities--more space.
 |
| One set of saws, with luggage in front. |
What about saws? I stuck them in that extra space next to the tills. It always bothered me to waste it and let the tills slide around in transport. So I made a saw rack (till?) that rides on the lower till-rail. The idea is that it's the first thing that comes out of the tool chest for use, right before and much like the bench planes. I put all the saws with crosscut teeth facing one way, and those with rip teeth facing the other. It's a straightforward set of western saws, plus two Japanese saws that have earned their space by getting me out of a lot of jams (a big-box-store ryoba, and an azebiki). I made this rack to be the same height as the bottom two tills, so the top till can slide right over it. This is handy if I want a screwdriver or something from the second till without getting into a whole woodworking session.
 |
| OK, maybe I have a problem letting space go unused. |
I even found some more space in the saw till. I made two simple little trays to slide into grooves at the end. They hold pencils, crayons, chalk, and some saw lubricants. All things that I am happy to have out at the bench right away, or at least near the saws.
 |
| Loaded up, ready position. |
 |
| The top till is still free to move with saws in place. |
 |
I wish I had a name for this... "self-locating chain recess"?
"gouging one's work because there's no better option"? |
What else? There are a couple of details that revealed themselves to me as I went. I made some smooth notches in the front wall of the top till so the brass chains don't scar the lid. This wouldn't be necessary if I had left some vertical space, but I wanted to use every cubic inch. Shaping them was guess-and-check until they slid in on their own every time.
I also made till-dividers that are easy to reconfgure. I used some scraps of fir that were 1/8" and 3/8" thick. The thin piece is the divider, and the thick piece is a wedge that encloses the end of the divider, preventing itself from buckling and falling off. Unfortunately it's hard to photograph clearly, but it's easy to do with a 1/8" chisel if you get the concept. Just make the angles match and don't tap it too hard.
 |
| These are easy to make and encourage grouping by category |
OK, that about covers what I built. But, why?
 |
| In the end, it's a box where I put things. |
That's a hard question with too many answers. If you want all of them, just go read the book already (The Anarchist's Tool Chest by Chris Schwarz). But I'll give you the one that's most relevant to me: organizational discipline.
I'm not naturally a neat person. Just ask my wife, my parents, or any of my college room-mates (sorry again). I do strive to improve, though, and the ATC has changed the way I think (for the better). The ATC has laid out a challenge to fit a complete working set of tools inside a box with finite dimensions. For me, that is an engaging, fulfilling exercise from what would otherwise be boring and neglected. I've got craigslist ads up right now with tools that are decent enough, but I don't really need. I have got another pile that I'm thinking about getting rid of, knowing that whatever I keep might push something else out of the tool chest. And I stopped buying tools just because I felt the urge to buy something that I might need. I never would have done this without reading ATC.
This gives me space, money, and time back. This makes me happy.
It makes the house neater, which makes my wife happy. And that makes me happy.
Now, I shall dream of sugarplums and getting on a plane for Handworks tomorrow night.