Showing posts with label popular. Show all posts

Sunday, September 13, 2015

Not quite a Nicholson

I have been struggling with a mess on my workbench for a little while during some shop reorganization, but today I found myself looking at a clean bench and realizing I have never posted about it. You may be familiar with the Nicholson style bench as popularized by Chris Schwarz, and nicely demonstrated by Mike Siemsen. This is basically the front corner of that set on some sawhorses. It's a fraction of a Nicholson ("Farthingson"?).

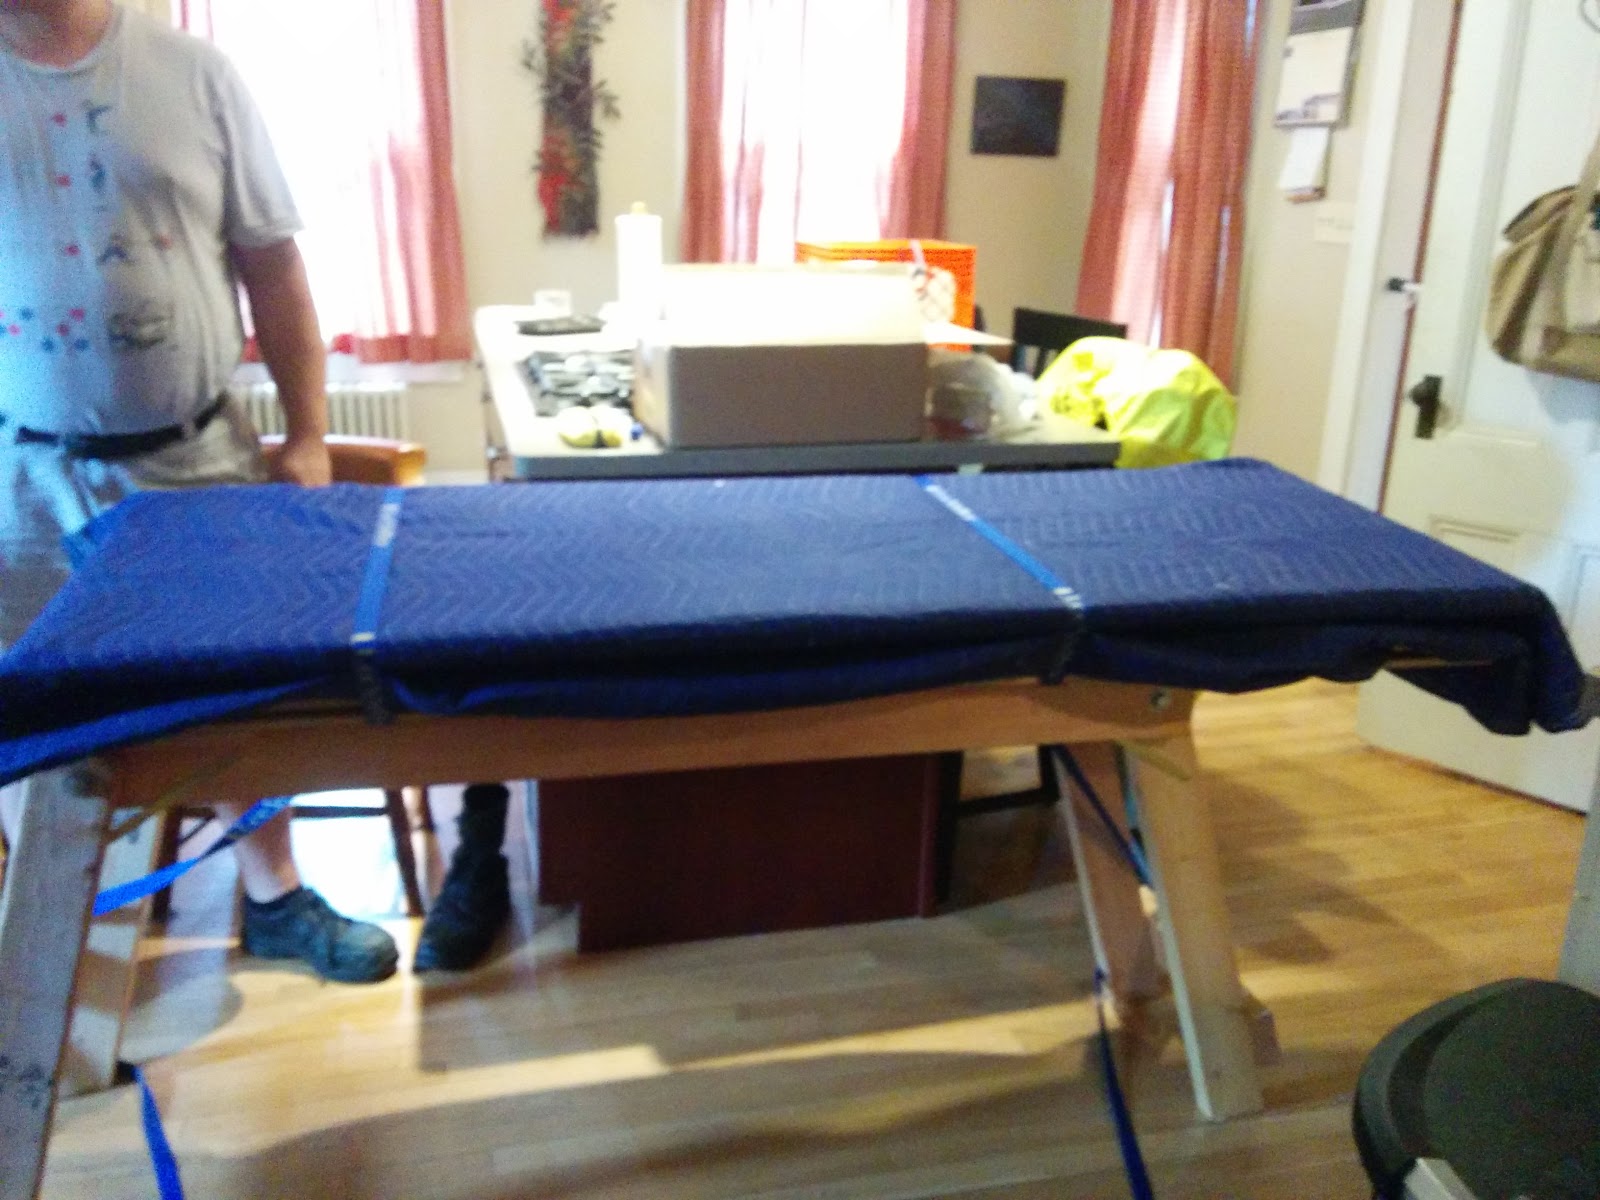
This bench-top is completed by some adjustable sawhorses, a spare plank, and lots of ballast.
Many woodworkers with voices on the internet sound like they speak from experience when they recommend figuring out your working style before building a fancy bench. Well, that's what this is perfect for. It's actually my second bench. The first one taught be a lot, but was too rickety and really meant for a child.

This one came about because I needed something I could make in a hurry and clamp to a kitchen island to provide a stable place for me to work with 3 friends. I soon realized I could put in on sawhorses and have a temporary bench better than what I had. I am planning on getting around to building a "Roubo" style bench in the near future (that's what the ballast is for), but this is really a perfect & simple way to get on with some projects while learning my preferences. Adjustable height sawbenches really take the cake.

And it couldn't be simpler to build. I screwed some 2x lumber together in an L-shape, then went over it with my jack plane (be sure to sink those screw-heads). I used some small blocks and screws to hold the benchtop to the sawhorses, and used an extra board for more surface area (not leveled with the main top).

Even the dog holes are easy, thanks to a healthy dose of procrastination. I used a marking gauge and dividers to lay out dog holes, but I didn't drill any except the few I needed at the moment. Whenever I need a dog hole that's not there, I grab my brace. I've been using this for over a year now, and there are still dimples in the front waiting for an auger to come along and make them [w]hole (sorry--punning is a disgusting habit). I just haven't needed them in that spot yet. And it's not tiring at all to drill one or two holes at a time.

I've got no vises (or even a crochet), and I do occasionally want for them, but for the most part this bench is great. 3/4" holes are incredibly versatile when aided by the vast array of accessories available today. A thicker top might be nice for holdfasts, and vises would make certain operations faster. I've figured out the bench height I like. So essentially I'm able to work efficiently now, and I know exactly what features I want in a more permanent bench.

You can do a lot without vises. For the picture I loaded it up with pretty much every accessory I have.

The best part is that I can store it on a lumber rack if I need to get it out of the way.

I recommend this bench design if you are just getting started, and you like the idea of being up and running in a couple of hours.

Heck, you can always turn it into a full-fledged Nicholson later if you have a free weekend.


Open frame for squares

Recently I bought a beautifully made double square from Chris Vesper. It got me thinking about how I always feel like I am on the verge of dropping small tools off my narrow (temporary) workbench, and how close I come to to tool abuse taking things in and out of the the tightly packed measuring section of my tool chest. Having been inspired by seeing the Studley tool chest in person, I decided to build a small open frame to hold the square, it's spare blades (rulers) and a couple of related tools.

Frame, en situ. And yes, I do see the irony of putting precisely made measuring tools in this thing with hardly a square corner in it.

And before anyone accuses me of comparing my work to Studley's, I'll say that my workmanship is far, far, worse. And my design is a bit more practical for my use. So this is very different. But we can all learn from Studley when it comes to space efficiency.

Dovetailed frame from padauk and maple tool supports.

I had some scraps of padauk and maple, so I fooled with layout for a bit then got to work.
Wasting away material after tracing the tools. This is tremendously more efficient when I limit myself to exactly one mallet whack for each time I place the chisel.
I made a ton of errors chopping out all the waste at different depths. I just kept going and tried to recover as best I could. I think I used ca glue to recover from about 6 different overenthusiastic chisel blows. But I measured myself mainly on whether to tools fit, and it turned out OK.

I knew this miniature router plane would be handy! In the background you can see a repair in progress--I scabbed on a little block to the other narrow support after I accidentally sent the wrong chip flying.
The design is a small dovetailed frame, with cross supports that have cavities to hold each tool. There is a cavity for every blade for the double square, plus a place for the square itself. This way I can put the square away regardless of what blade is in it at the moment.

Tracing the dovetails of the cross-supports and checking the layout.

Fortunately, my bench hook provided a nice backstop for chopping out these dovetails.
These must be the easiest kind of dovetails to chop out, since it's long grain and can be approached across the grain. Padauk is fairly tame to work with too, except for occasional splintering.
I noticed along the way that some of the color of padauk is alcohol-soluble. I use grain alcohol often to make endgrain easier to work. When I shot all the parts to length, the padauk streaked my block plane's sole purple! It also made an orange splotch on the maple. On a whim, I decided to dye all the maple this way. I scattered some padauk chips on the maple parts and sprinkled them to the point of mild intoxication, then rubbed the chips all over the parts. It looks weird with all the purple and orange, but I'll take weird over boring any day.
Clearly no other woodworkers were around to stop me.

This is what happens when maple gets drunk with padauk. It could have been worse.

After cleaning up the surfaces and applying one coat of danish oil, I'm ready to put this frame to work.

 The end product is functional, convenient, full of mistakes, and totally weird. So, perfect.


Sunday, June 28, 2015

Bar assembly instructions (because it's done!)


The purple glow-in-the-dark bar is done! (Scroll down to the bottom to see it assembled)


Done.

Thanks to Charlotte, Frank, Patty, D, and Abby for all your help, and thanks to all my camp-mates for your encouragement and ideas to make this project a reality. And thanks to my friends Matt and Samuel for helping with these photos on short notice.

This post will show how the structure works for those who might want to build something like this. This bar is meant for serving drinks to friends at a week long camping trip. It will be used outdoors, in the woods, rain or shine. Tarps will keep it dry and black lights will keep the artwork on the top glowing at night.

But for the people I'm camping with next week who will arrive before me, these are the assembly instructions you will need when you get to the campsite. 

Assembly instructions:


Pick out a location and unfold the legs on the base unit. Lock all 4 of the brass leg braces by pushing the middle until they are straight.
Legs, ready to be unfolded.

The legs open in pairs.

Lock the brass leg braces with a small push.
Flip over the base and set it in location. This is a good time to make sure it is level and not sinking into mud by shimming pieces of wood under the legs as necessary. If the whole bar is still packed up and strapped together, another option is to flip it as a unit.

The base can be handled by one person.
Take a moment to make sure it is level. (This is easier indoors)

One thin piece of plywood should be enough to avoid sinking into the mud.

To adjust the height of one leg, Add other scraps and shims. The shims can be slid sideways to fine tune the height so the bar does not wobble. Avoiding wobble is more important than getting the bar perfectly level.

Another option, (which might be useful if it is raining and you are under a small tarp), is to keep everything strapped together when you flip it onto it's legs. This is heavy, so make sure the straps are tight and get another person to help.
Get the front piece ready within arms reach. The two recesses on the front should be on the top edge.

I'm pointing to the hinge recesses.

parallelogram
 Pick up the top layer of the base unit so that it becomes a parallelogram and then a rectangle.
rectangle
 While holding the rectangle open, fit the front-piece in. The recesses should align so they are ready for hinges to land in them.
Installing the front-piece.

The hinge-recesses align. Also shown is the metal T-nut where you will install bolts soon.

Remove 6 bolt-washer pairs and the wrench from the included yellow hardware bag.

6 bolts with 6 washers and an 11/16" ratcheting wrench (from the yellow hardware bag)
 Install them around the perimeter of the front piece. There are 2 on top, 2 on the bottom, and 2 on the ends (1 each). It is easiest to install them if you tighten the top ones first. They should be snug, but not super-tight--when you can't turn the wrench with 2 fingers, you are done.
Installing the bolts on top first. The notches in the wood show you where the bolts go.
These ones on the end will align a lot easier if the top bolts are already tight.

Next you will install the bartop. Make sure you have help lifting this because it is heavy. The top piece is wide and has the logo and yellow breadboard ends. The front facade piece is unadorned and hinged on to it. Take care to lift the front edge of the top first/highest so the front hangs freely swinging from hinges.

AVOID lifting the back edge higher than the front at any time. You would essentially be asking the hinges to open wider than 90 degrees, which they can't do without ripping themselves out.

IMPORTANT: lift the bartop in this orientation so the front piece is free to hang vertical. You can raise this up to vertical or lower it down to horizontal, but not down past horizontal. This is all about not straining the hinges.

set the bar top on top of the base. The front/facade of the bartop should be up against the front of the base.
Here, I'm pushing the bar top sideways until it clunks into the centered position.

Once it is on top, move it side to side until it is centered. You will here a clunk when the hinges on the bartop fall into the matching recesses in the base, and then you have done it.


Good, now it's centered.

Retrieve the 5 brass screws and screwdriver from the yellow hardware bag. install them from the inside of the bar, into the [brass threaded inserts in the] facade. Like with the bolts, they should be snug but not crazy-tight.

5 screws, one screwdriver.

4 screws in the front, from the back.
Install the last brass screw up through the center-back-top of the base into the bartop. This keeps that thin piece of plywood from sagging.
One screw in the top, from below.
This screw goes near the logo, towards the bartender-side.
  Before you walk away, double check that the screwdriver and wrench go back into the hardware bag. Keep it in the bar so it doesn't get lost.

Hardware bag, safely resting in the bar until you need it for disassembly

 Congratulations, you have assembled the bar! Time to load it with booze, have a drink, or go put your feet up.
The bar is done!

Sunday, June 21, 2015

how to mess up your dovetails

I came across these old photos from when I was making my anarchist's tool chest, and thought I should share some of the mistakes I made while learning a lot of techniques.

But there are already too many blog posts with contradictory information telling you how to cut nice dovetails, so I'm going to tell you how the mess them up:

Use a jack plane with a heavily cambered iron to surface your lumber, then decide that's good enough. Do this on the inside surfaces to ensure visible gaps.
Crosscut your lumber after surfacing. This means more work to get out large cups & bows, so you definitely won't have energy left over to get out a smoothing plane.

Warm up your sawing arm with some haphazard cuts.

Decide that dovetails are first class cuts and waste lots of time making knifewalls, even though the angles don't really matter on the tails (assuming tails first)
If that takes too long, decide they are second-class cuts so that you still waste some time with knifewalls.

Orient the board so you are cutting against the grain. (Actually I was using a dozuki, so this was the right way).

Train your eye to see square by looking at an engineer's square from the wrong direction. Don't "undercut", because it might be considered "cheating"

Cut the tails way inside the lines so it doesn't fit right off the saw.
Fuss with the joints a lot so you have plenty of opportunities to go past your lines.

Glue it up with the minimum of clamps so that the glue has a place to go.


If you're cutting grooves, make sure they go out through the end (this is from a different project)

Repair the blemishes with a few small slivers of wood and some glue, or if the gaps are small, just hammer the endgrain until they disappear. Flush plane them and they'll look fine. I'm serious about this one--it's easy to repair dovetail problems.
...but you can still point out your mistakes to anybody who sees the tool chest.
You can also point out your mistakes to the whole internet.
And don't paint over them so you can keep pointing out your mistakes.
But seriously, you can fix all this and they will come out great. The important thing is to make the attempt so you have the opportunity to succeed.