I haven't been posting here a lot lately, and I would like to talk about the other things I've been spending time on.
I have been working wood, but more to the point, I have been attempting to reduce work-in-progress. In other words, finishing what I start.
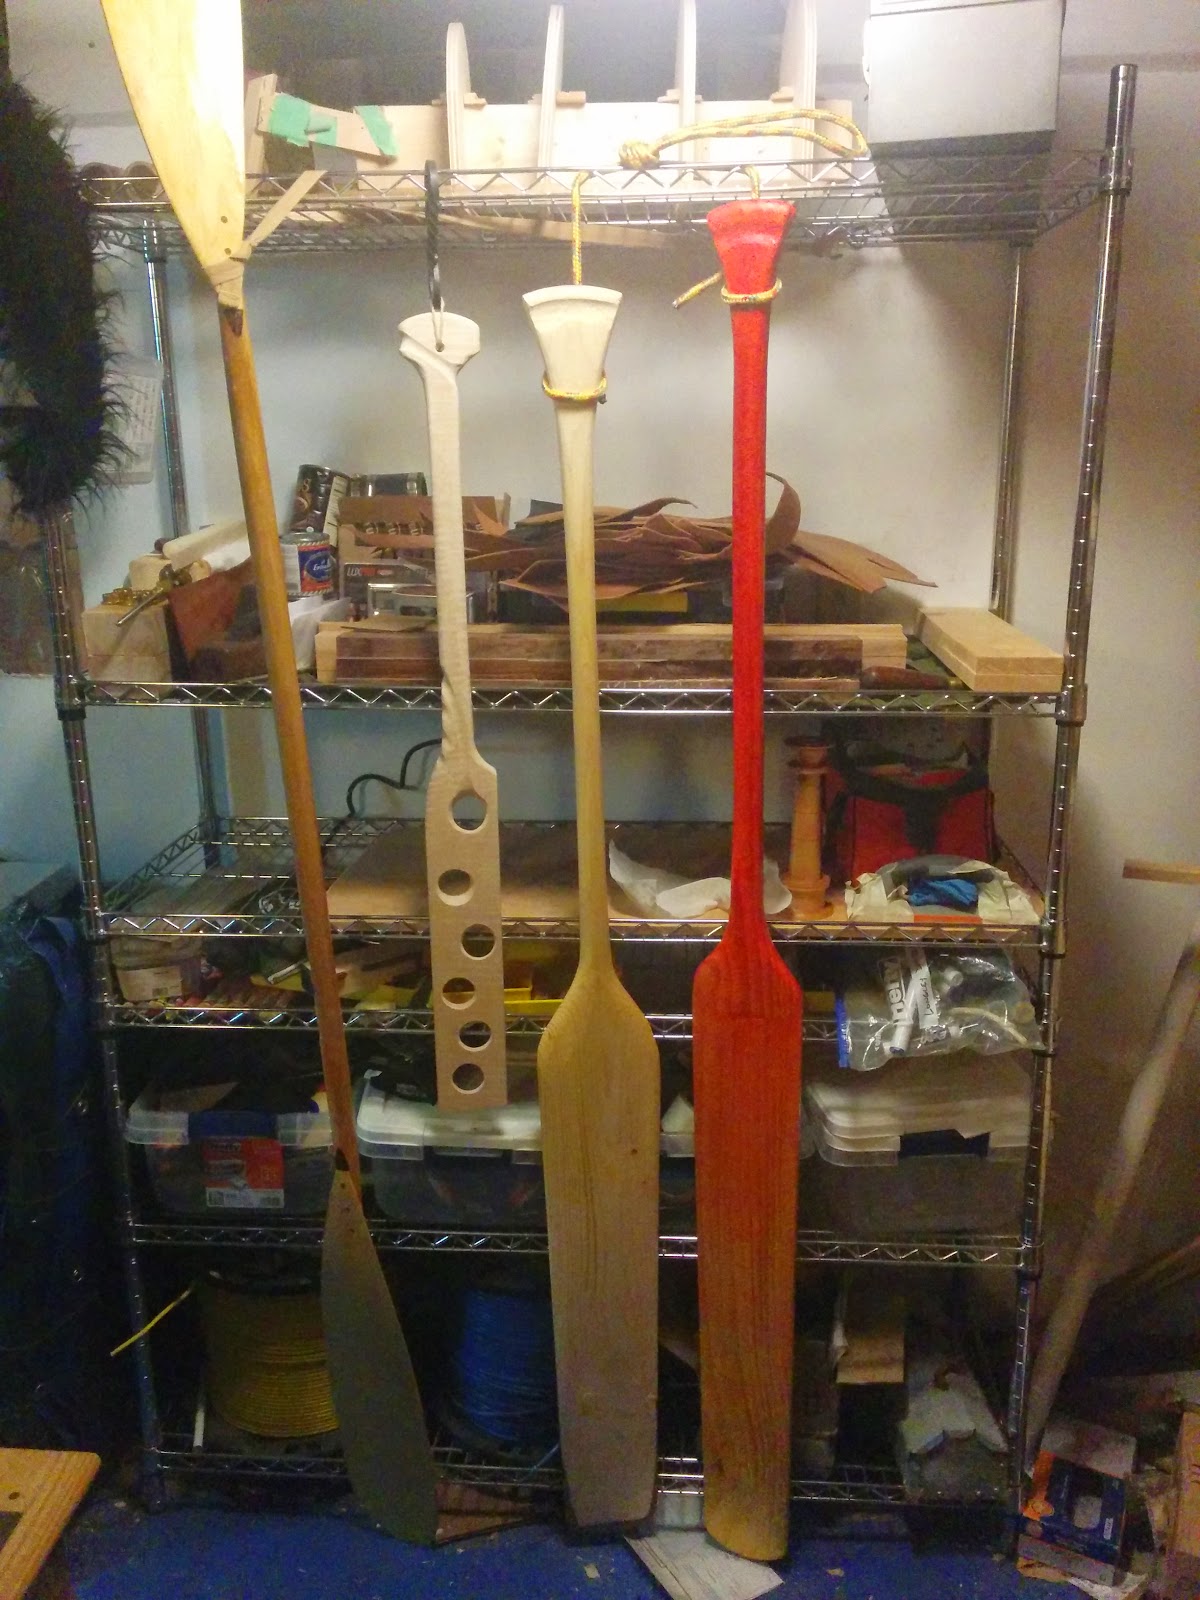 |
| WIP storage in the woodshop. Right next to the lumber rack so I am reminded to finish some WIP instead of starting in on a fresh board. Apparently I have a knack for almost finishing paddles. |
Managing a software kanban system at my job had made me very aware of the inefficiency that inevitably comes with doing too many things at once. I started to notice projects that I had left halfway done, both in the wood shop and out. After a while I decided to track my WIP (work-in-progress). I already use an electronic GTD process to manage tasks, so it wasn't much of a stretch to tag the tasks in progress, list additional WIP as I noticed it, and keep a count so I know how I am doing.
Within a couple of weeks of keeping track, I could see 50 WIP items, all things I've started and not finished. Since then, I've spent a few months finishing projects and resisting the urge to start new ones. Now I have 73 because of all the additional WIP I've noticed along the way. (I peaked at 80). These tasks are all different sizes, by the way. Anything from borrowing a DVD to installing an attic floor and joists qualifies. I will often break up a task into sub-tasks, but only if each task has value on its own. For example, I am working on a tool chest, but each internal rack and tray, and the lid, etc. , ate tracked separately. I used my tool chest for months before I had even bought the wood for the lid frame, but it was still useful in that form. Building the lidless box was good for WIP too. I didn't have extra wood in my way while I used those folks to finish other projects. However, getting a single tray or box 50% done cannot be a separate task, because getting to that point on its own doesn't accomplish anything.
So, now I am trying to finish more things than I start (for a while). 73 is too many things to have hanging over my head. Anyway, this should explain the blog inactivity. Writing is another thing to do. My WIP numbers are actually starting to go down now, but I am not done by any stretch.
My immediate goal is to get that number under 10. After that I might worry about trying to post individually about every interesting woodworking project or idea I encounter. In the mean time, I'll post when time allows, and try to summarize a lot.'
Below are some pictures of woodworking projects and tasks that I've finished in the last few months. I'm not sure If I will make time to post about them individually. I hope they inspire you to start, or better yet finish, your own woodworking project.
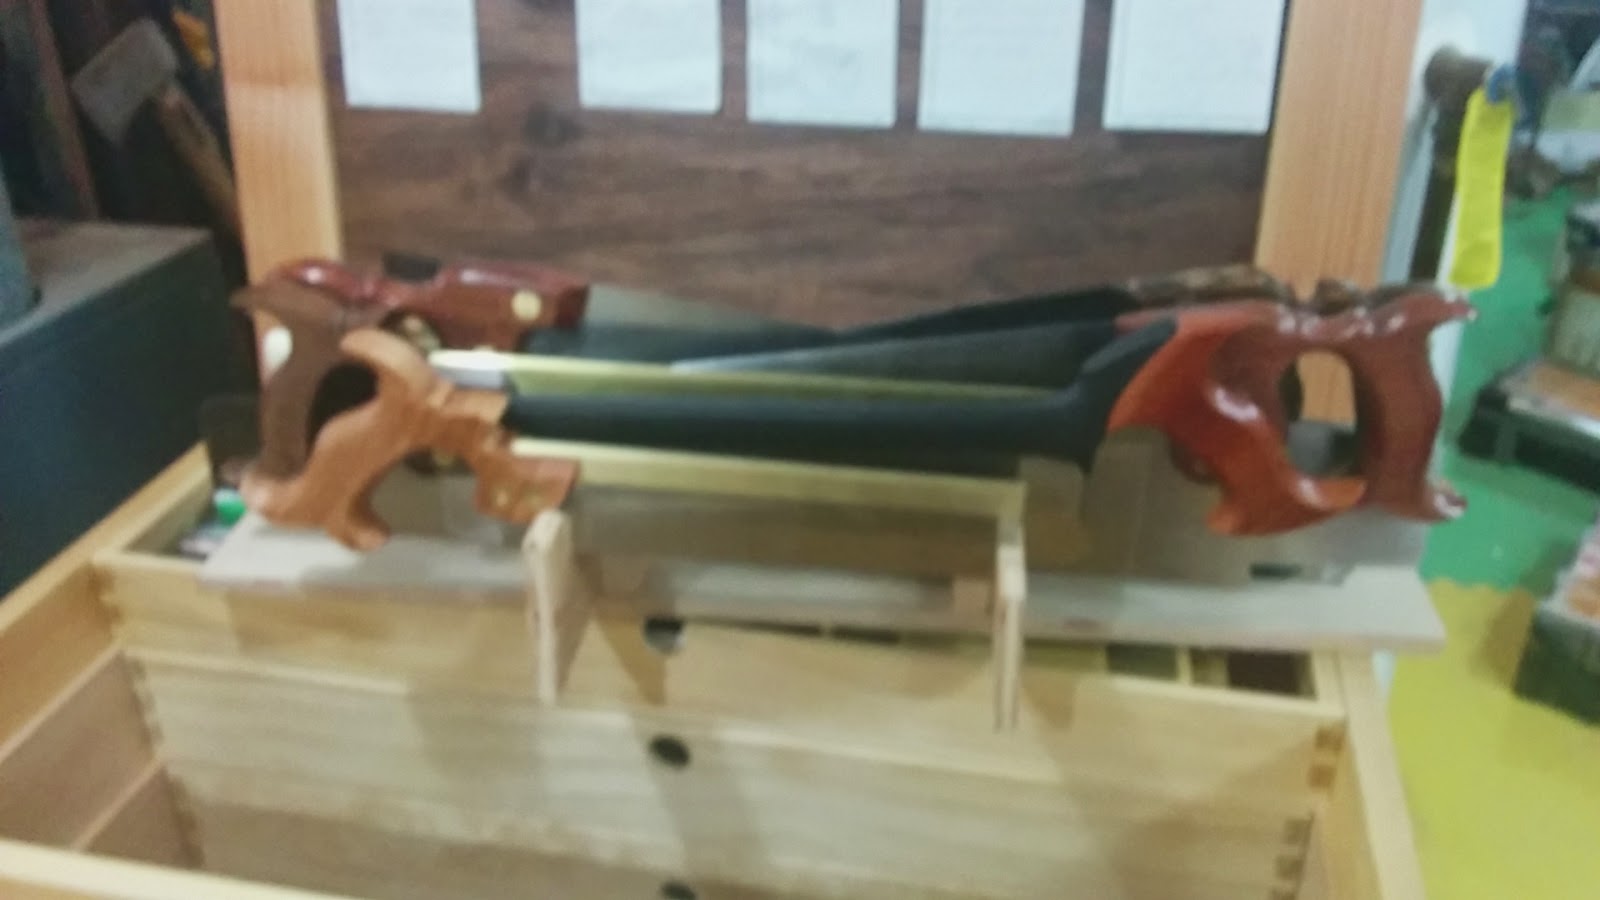 |
| functional saw till prototype that fits in my tool chest |
 |
| Sliding trays for tool chest |
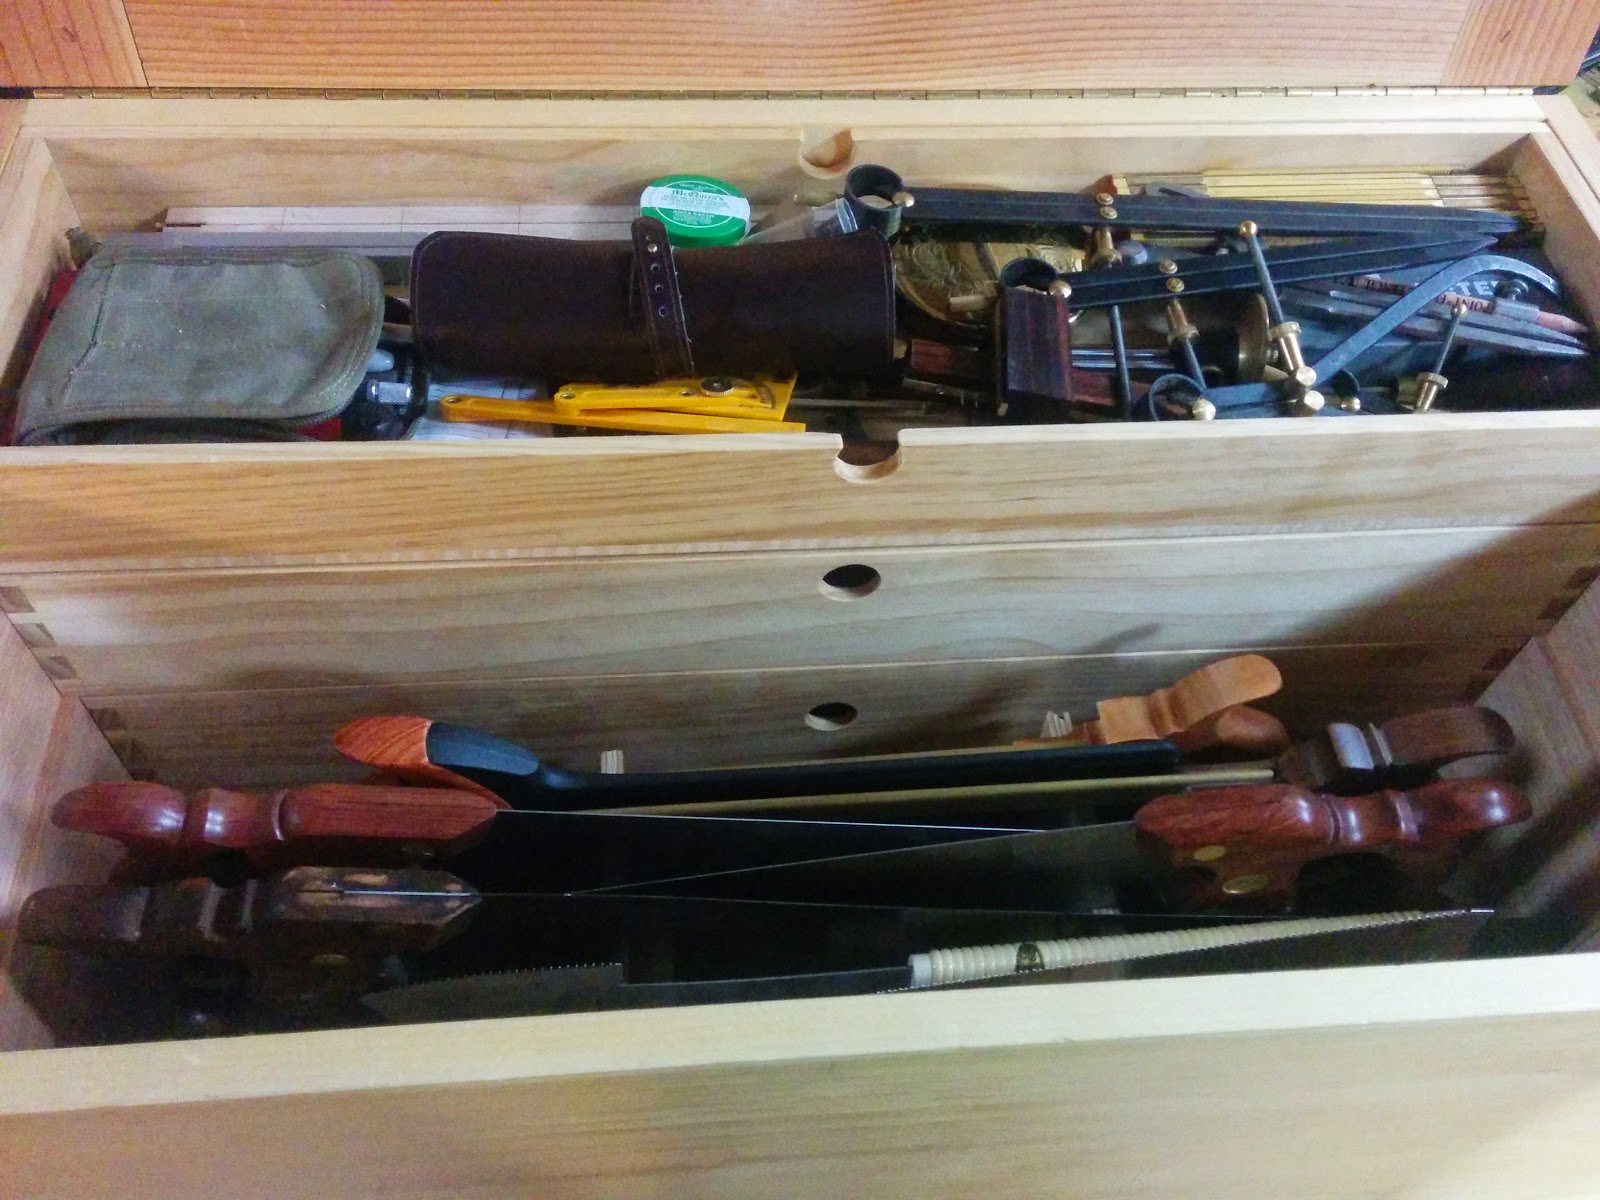 |
| Here are the trays and saw tills resting on the rails together |
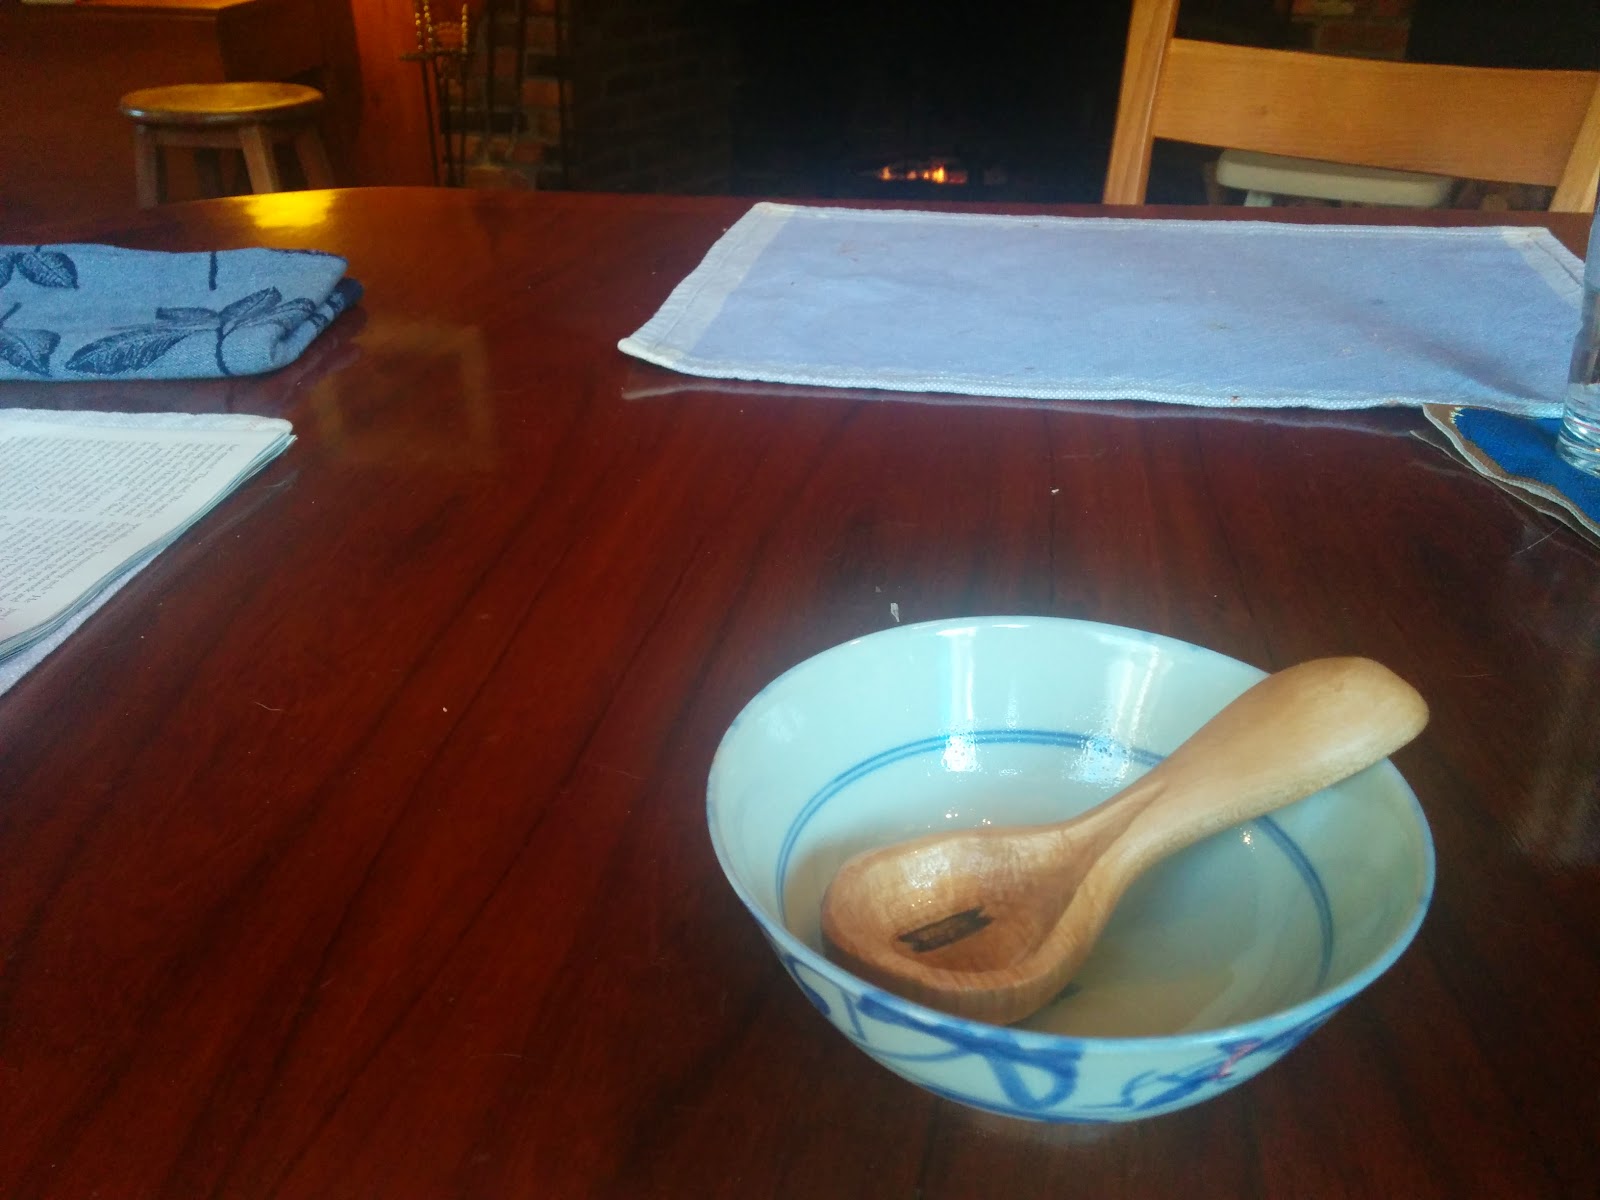 |
| small maple spoon |
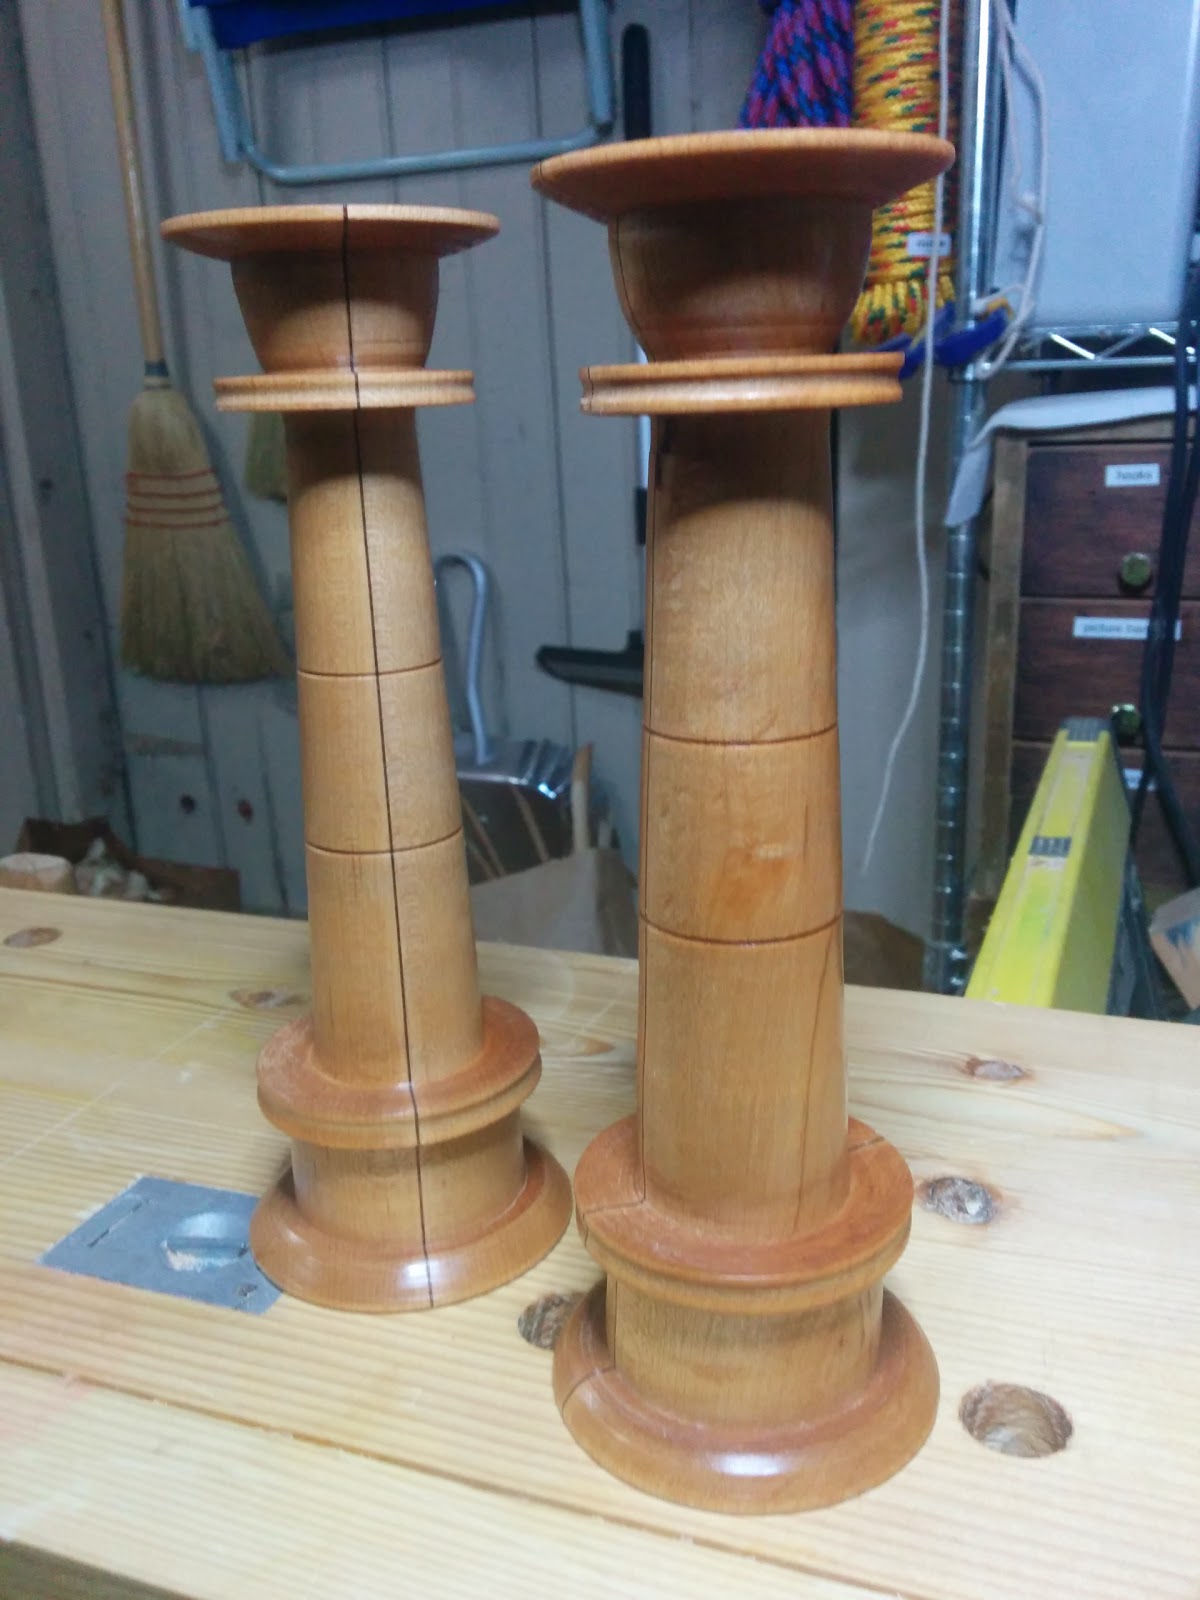 |
| candlesticks, an education in turning |
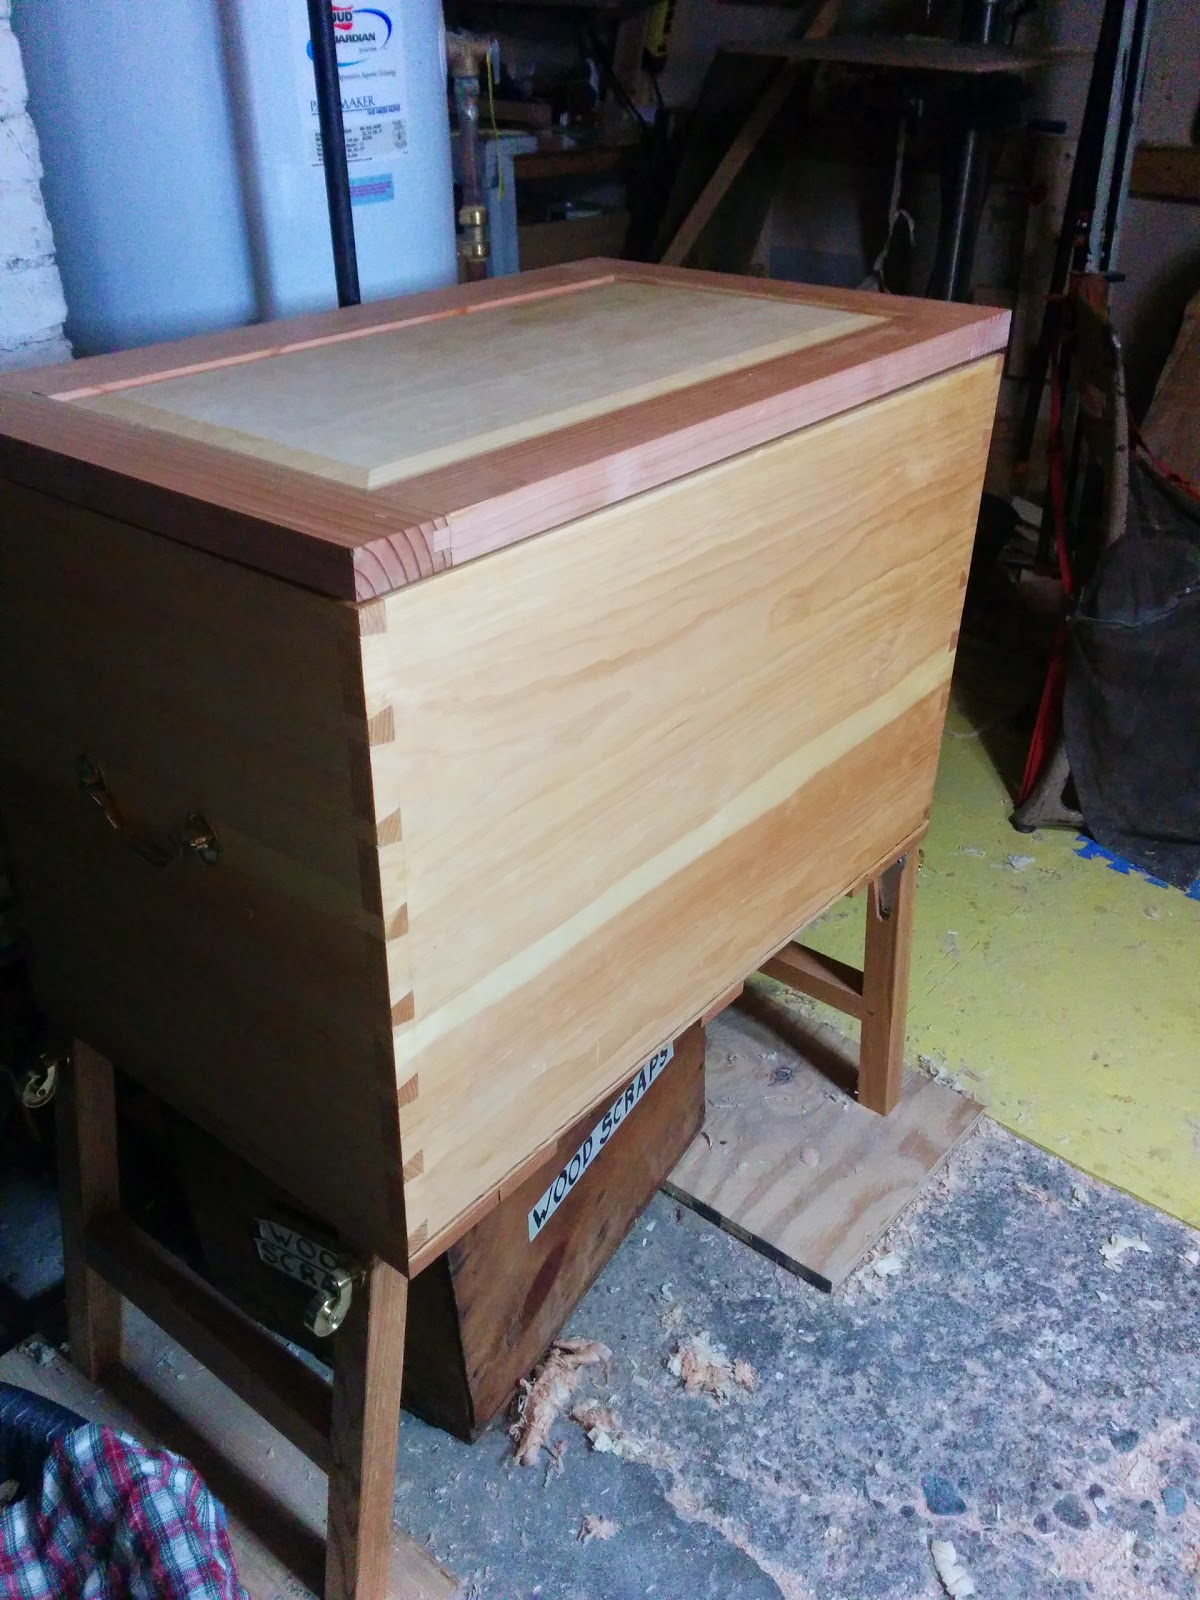 |
| Tool chest carcase and a lid that closes |
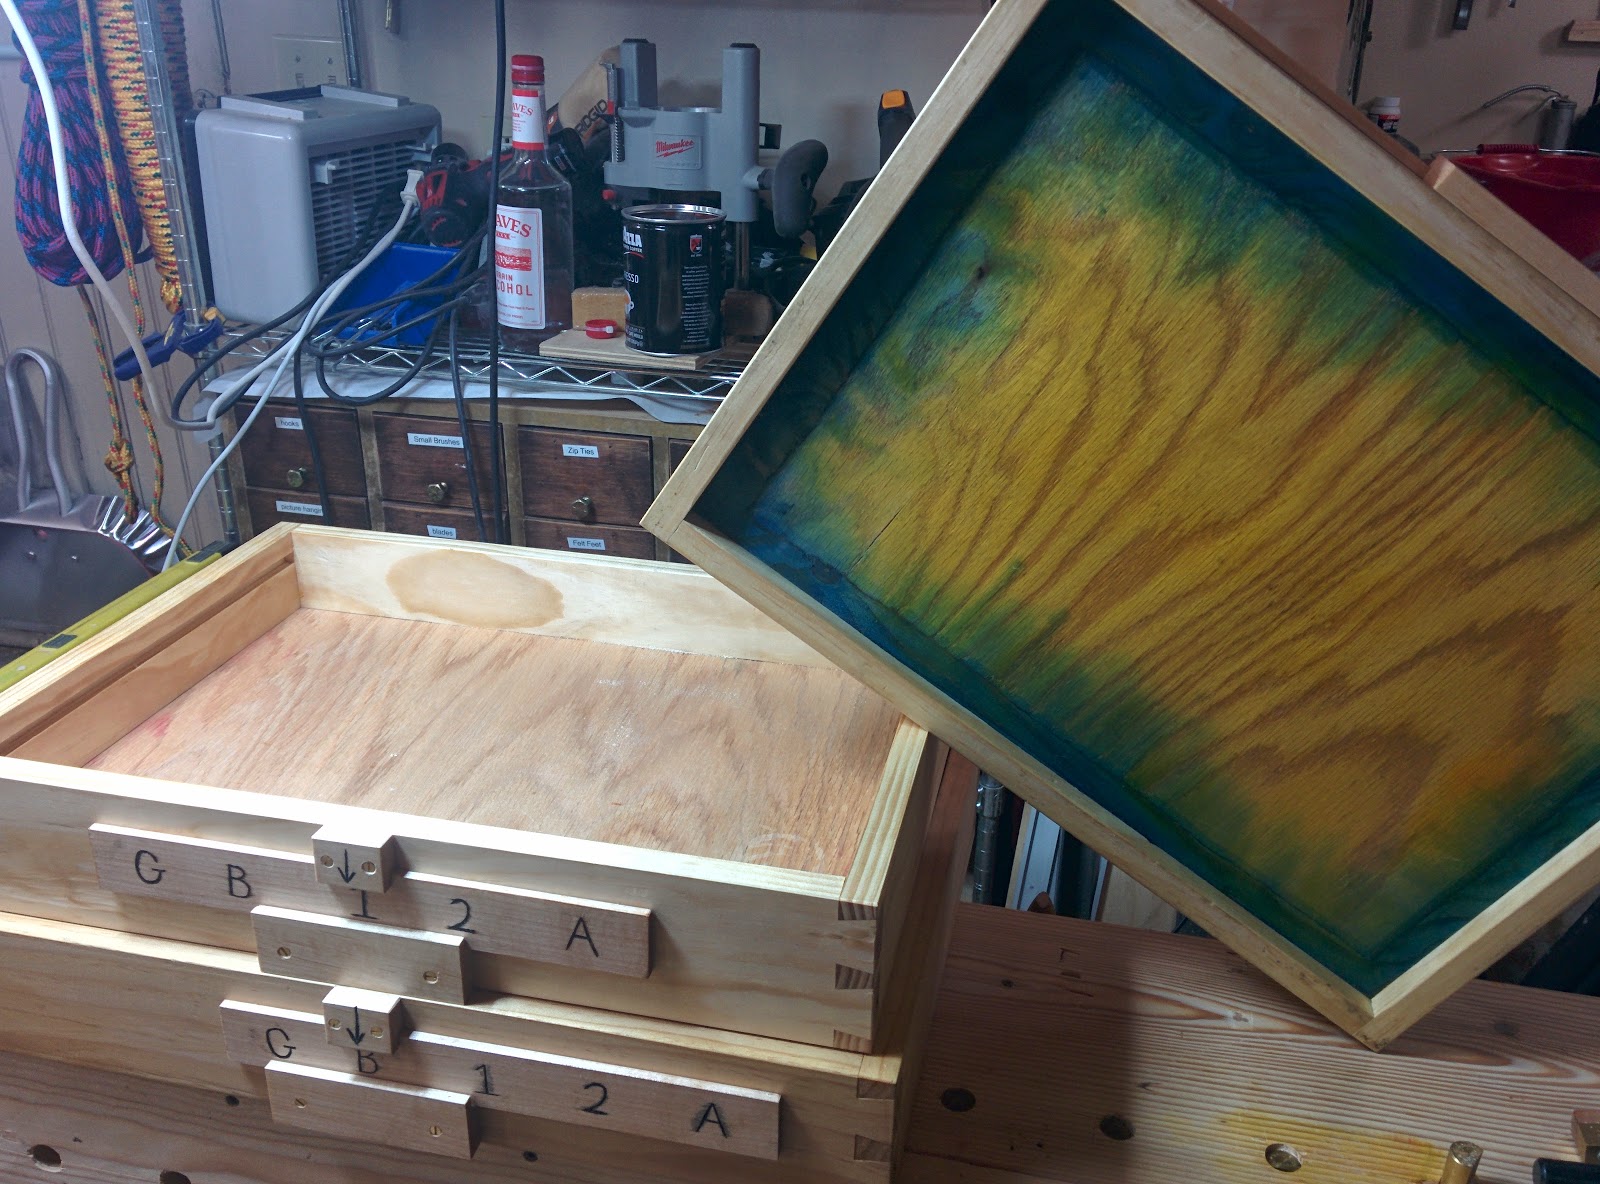 |
| Trays for keeping organized while moving stuff around the house. I learned to cut dovetails (by hand) with this project, and had some fun with wood dye. |
 |
| Oak spoon, finished. I think I started this when I was a kid 20+ years ago. I noticed it, put it on the WIP list, and then it was a matter of time before I finished it. Not hard now that I own a spokeshave and a gouge. |
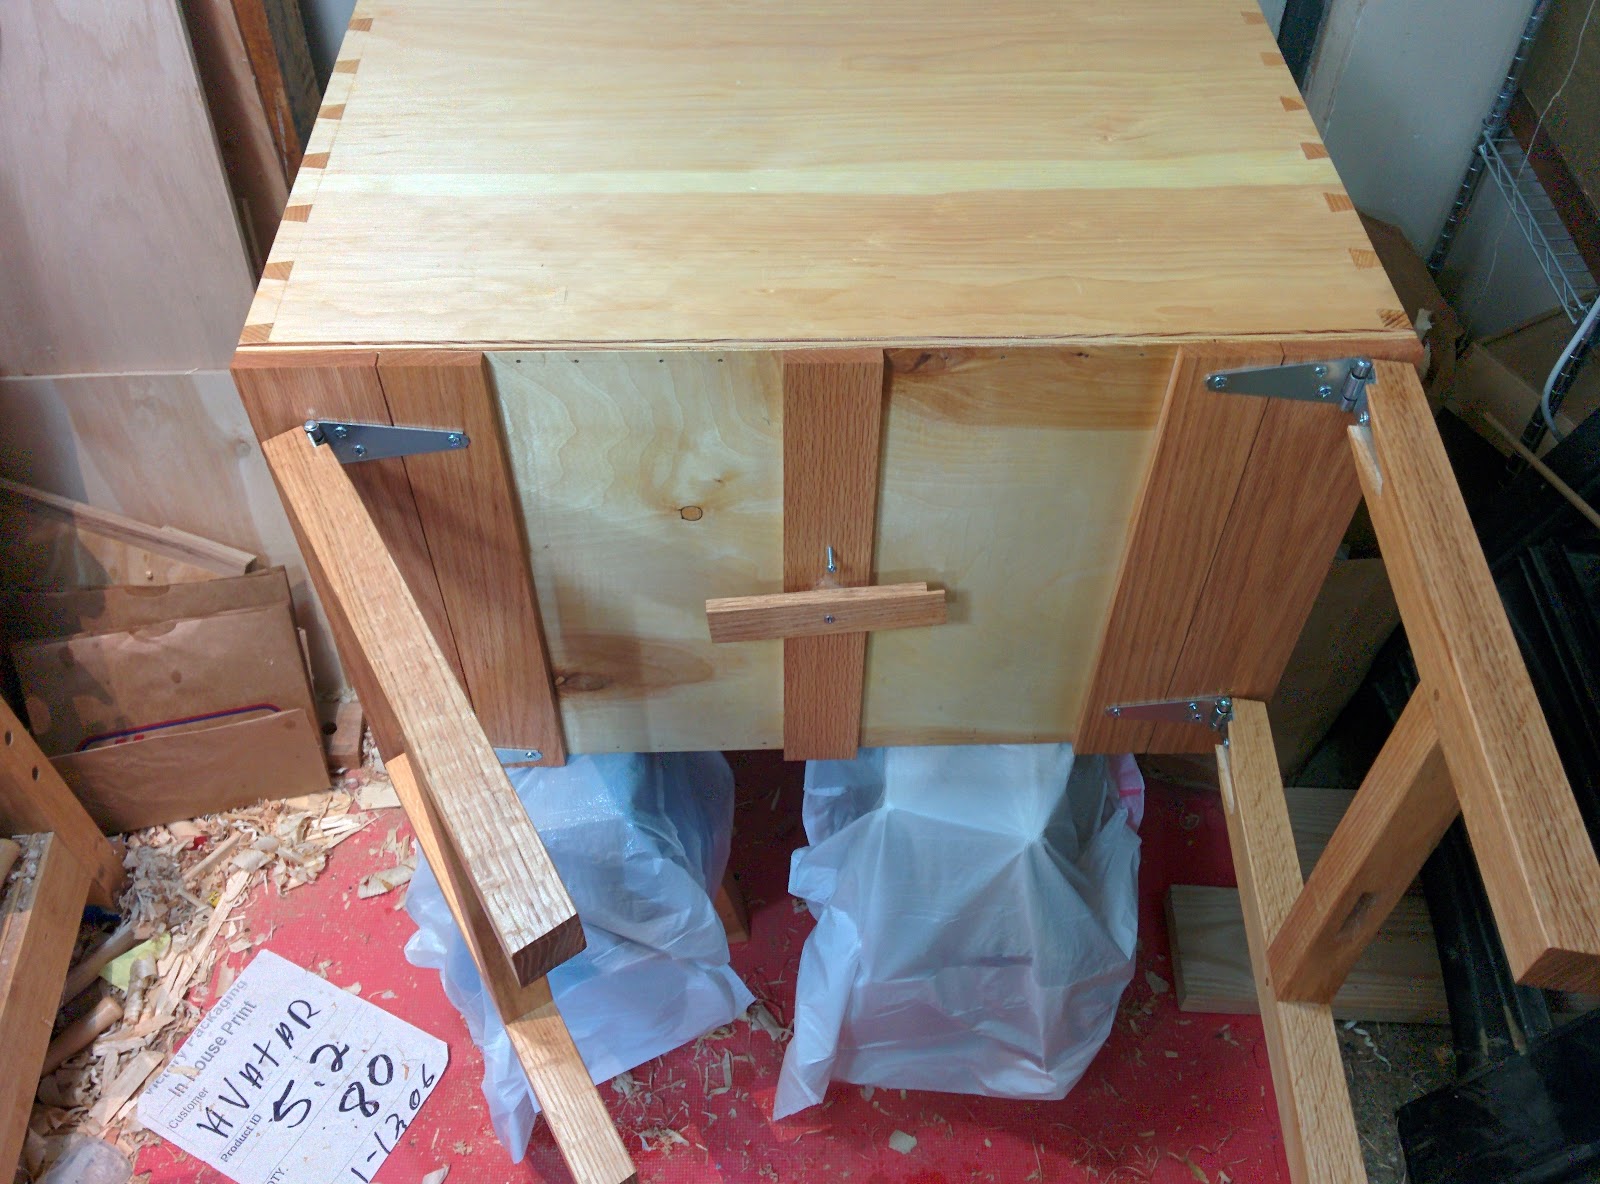 |
| Folding legs for tool chest. These now have casters that deploy when the legs are folded. |
 |
| Temporary workbench with a thing that resembles a vise ("twin-holdfast-caul"?) |
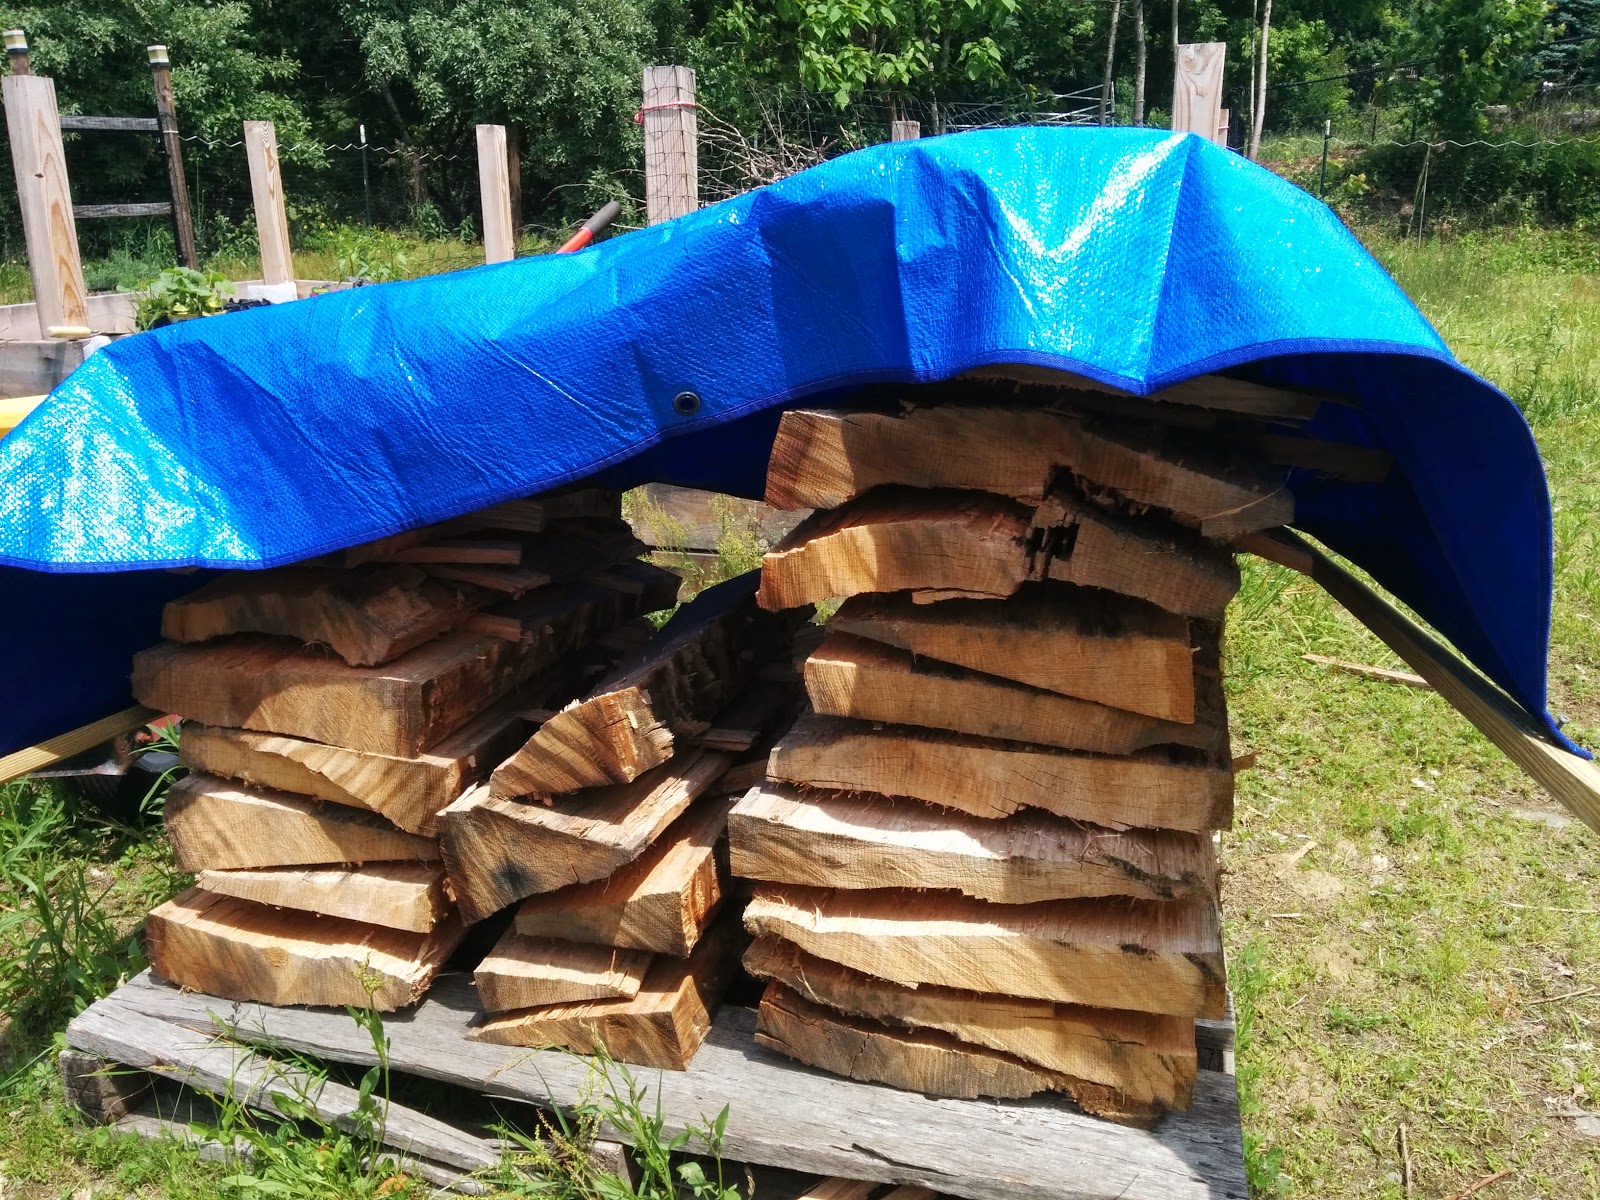 |
| radially split oak log from my cousin's yard and stacked it to dry |
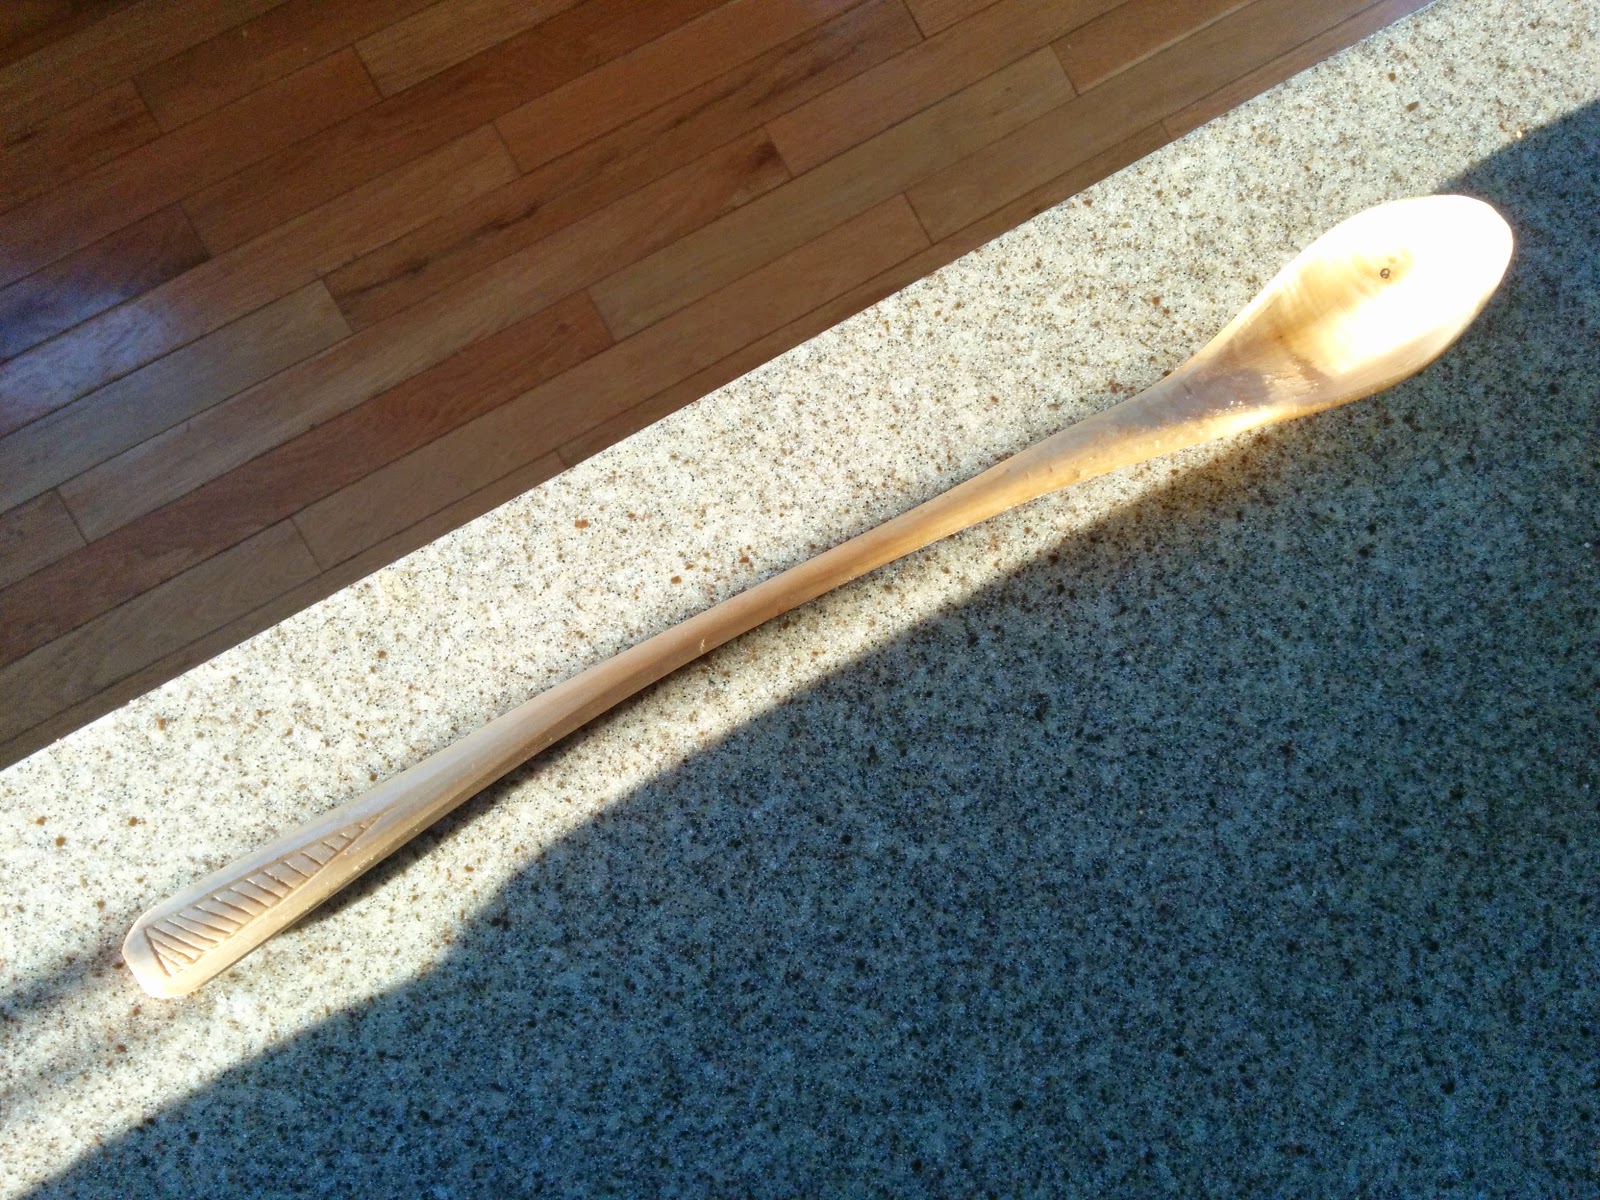 |
| extra-long maple cooking spoon. I should never have started this, but at least it was quick to finish. |
 |
| Raised desk to standing height. To do this, I made a custom part for the IKEA stantions so they could go taller. |
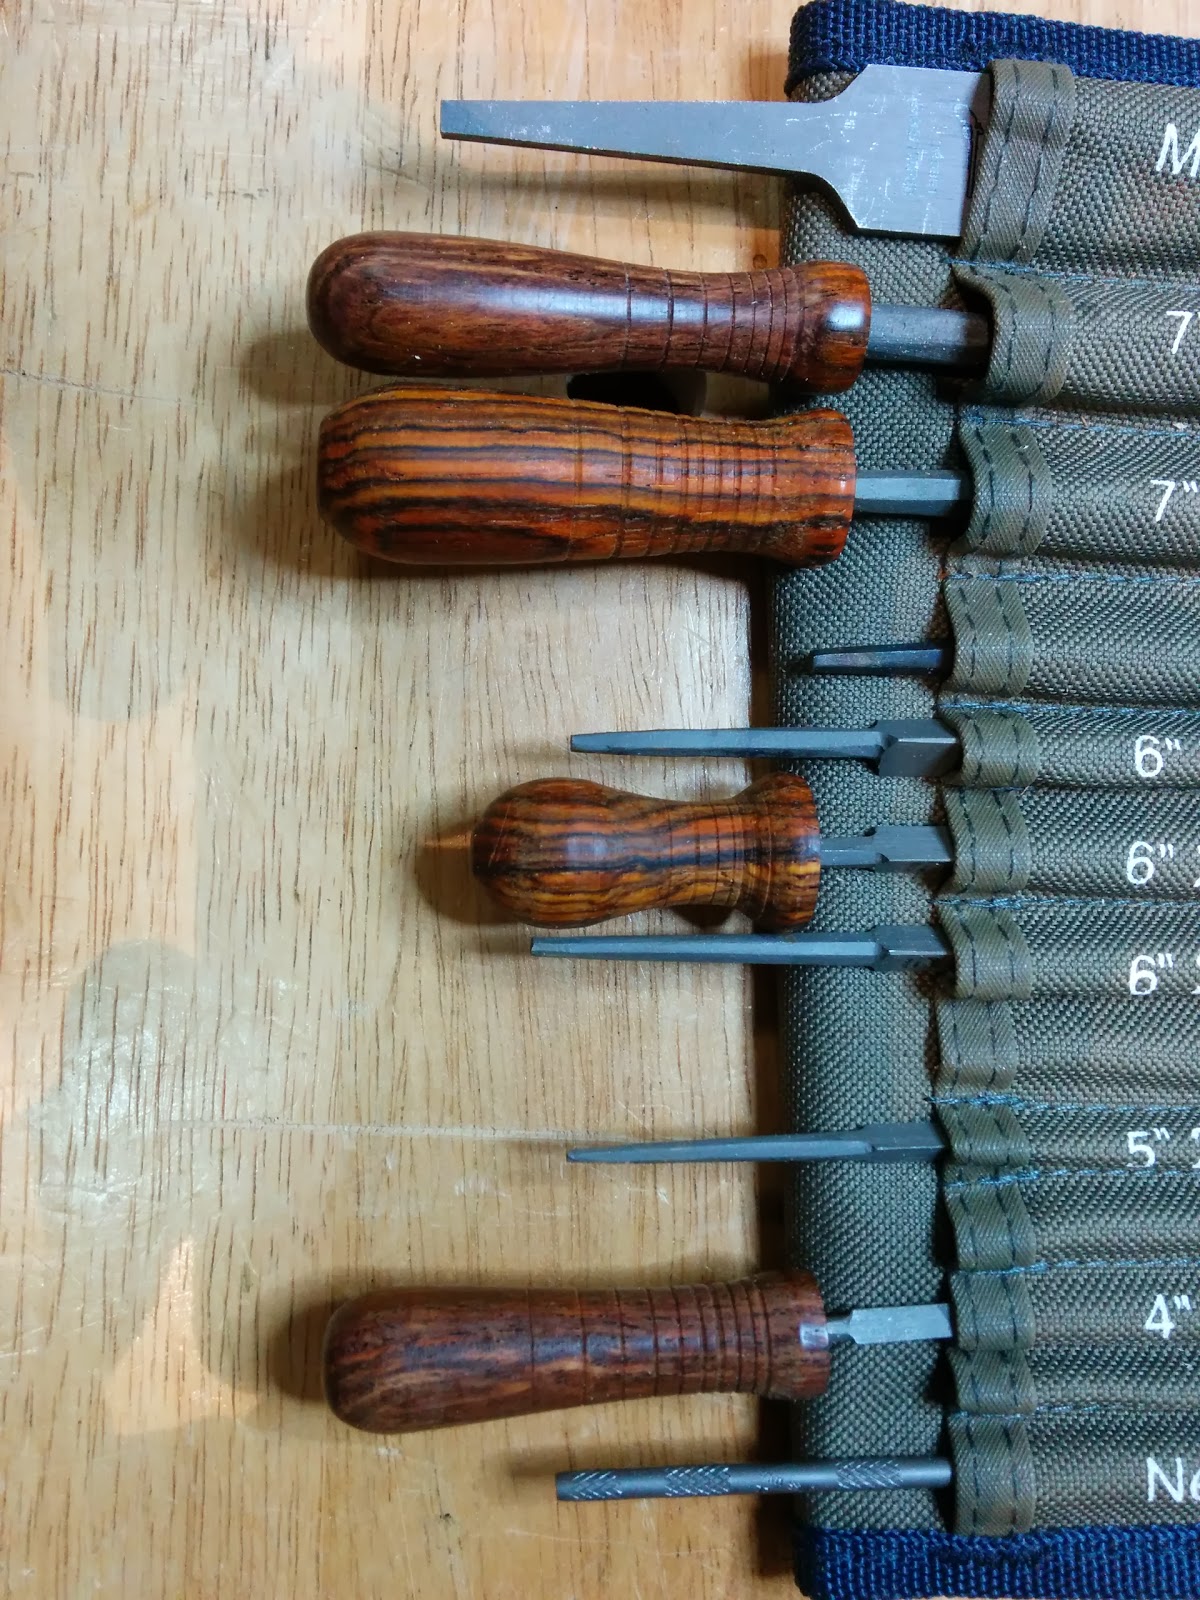 |
| Cocobolo handles for saw files. In hindsight, it would have been easier to use corn cobs, but this was fun. |
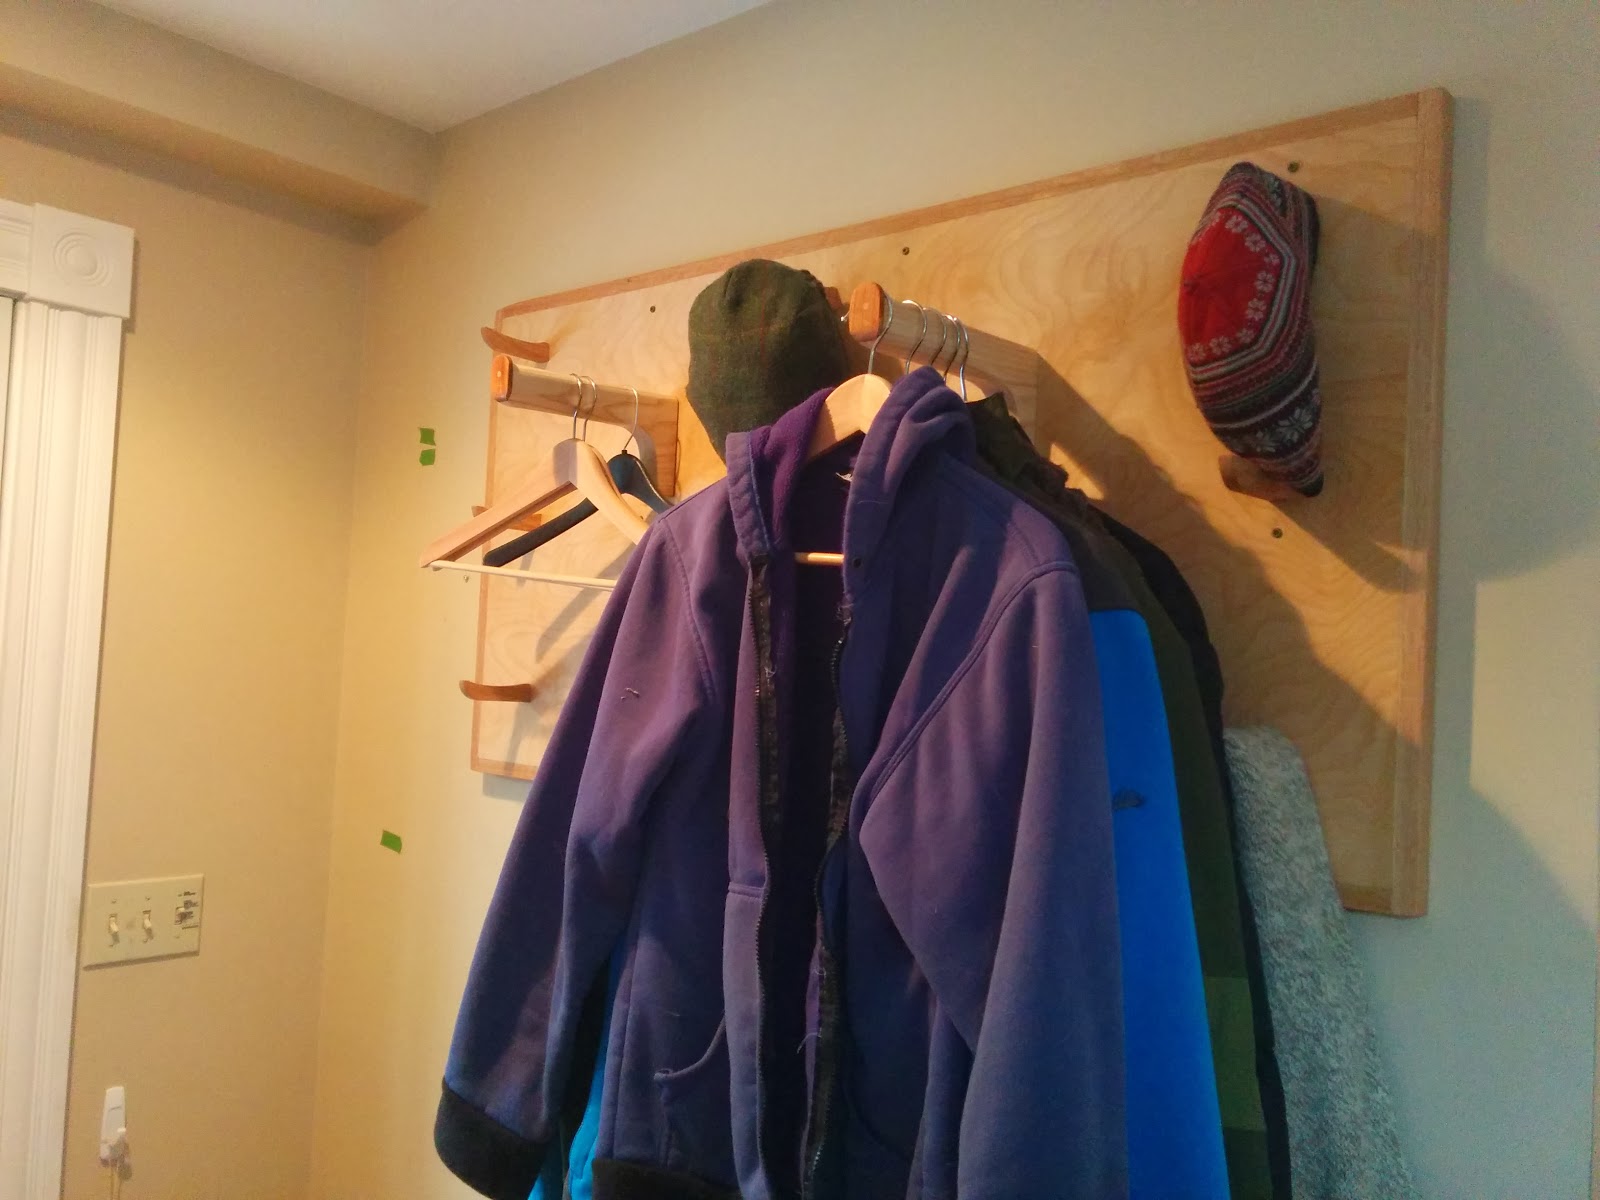 |
| Coat rack that actually fit in my house. I used this opportunity to teach some helpful friends to make fox-wedged mortise-and-tenon joints by hand. Those pegs are not coming out any time soon. |


